WARDOGS / FIELD NOTES
Money farming: every method ranked by risk
Every way to make money in Wardogs sits somewhere on a line between dead safe and genuinely risky. This field note lines nine of them up from safest to highest reward, so you can pick one that matches your nerve and your role instead of guessing.
Quick card
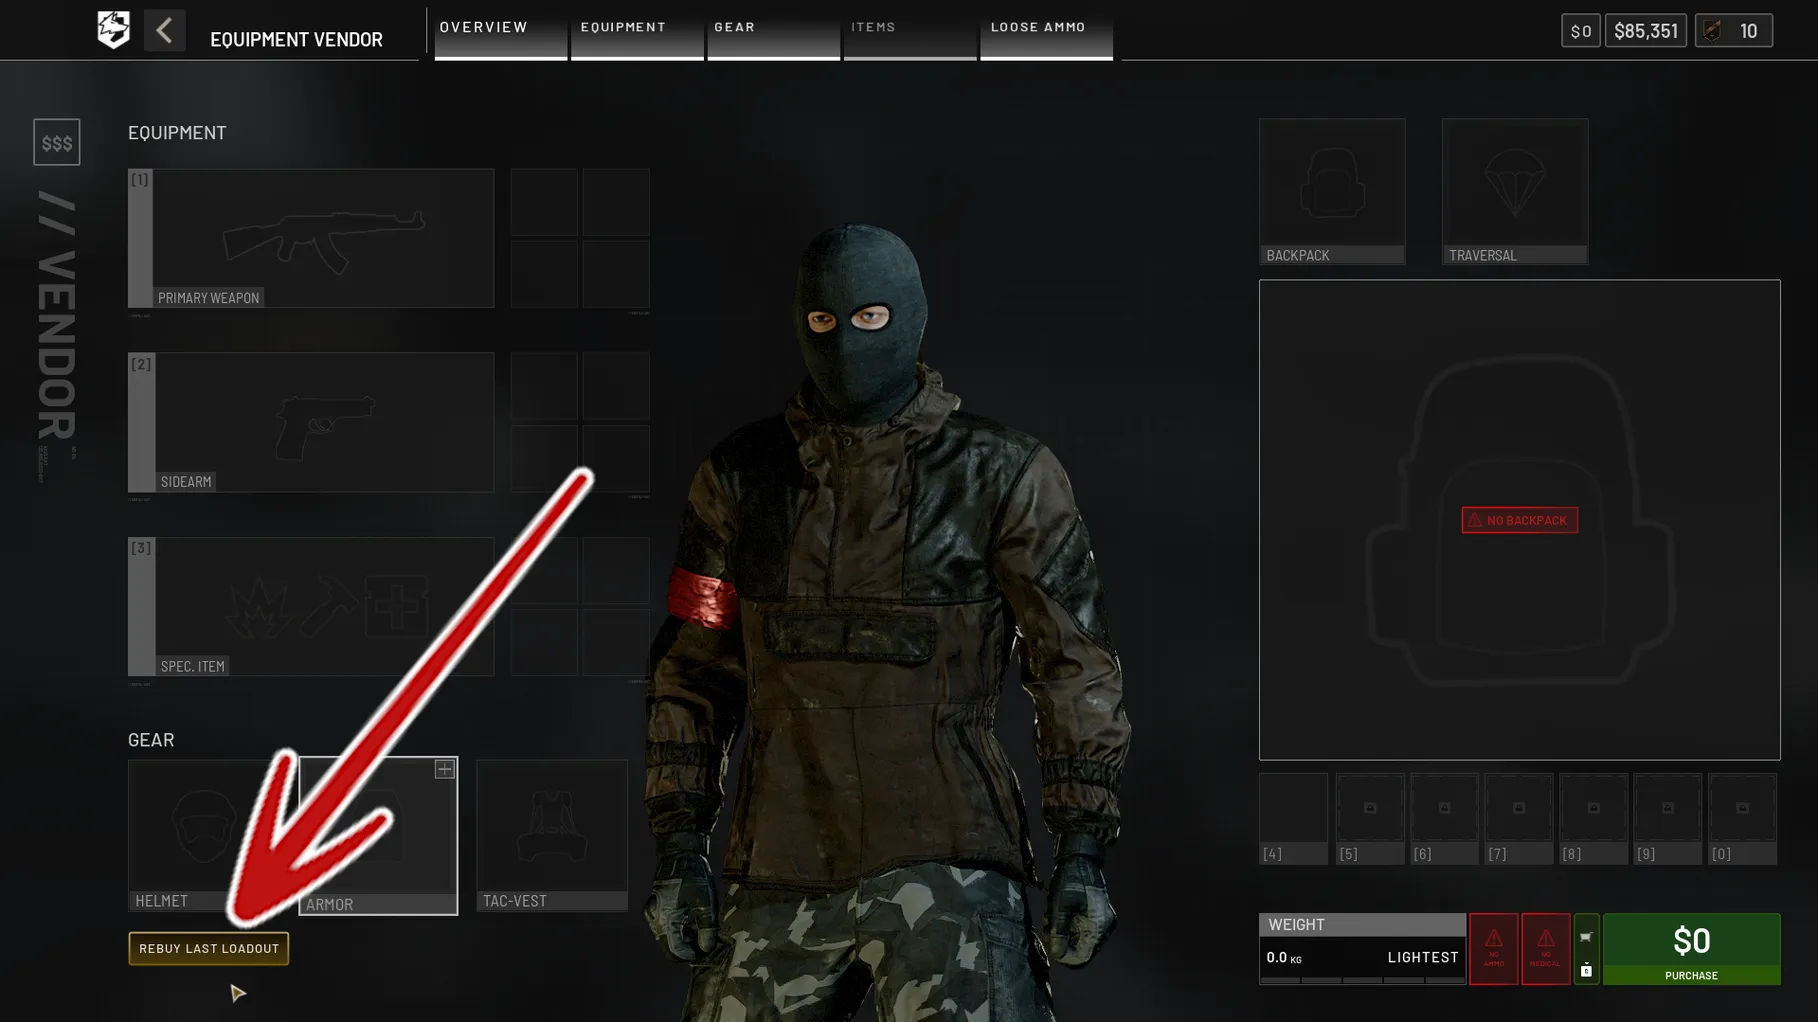
- Starting rifle
- Free assault rifle, one 20-round mag
- Carry slot
- Smallest backpack, just enough for spare mags
- Free revive
- One fast revive, use it on every life
- Self-heal
- At least two bandages
- Armour
- Level one, worn the moment it unlocks
- Role swap
- AK, SMG or shotgun instead of the starter rifle
Driving passengers: the safest, lowest-paying rung
Ferrying teammates from spawn or your base into the zone by ground vehicle is about as safe as Wardogs gets, since a truck or jeep does not go up the way a downed helicopter does. It suits a new player who wants to learn a map and bank a little cash without ever being in real danger. The catch is that almost nobody picks your ride over a helicopter unless a friend is riding along specifically to help you level the Driver track, so payouts stay thin.
High-value passenger drops by piloting
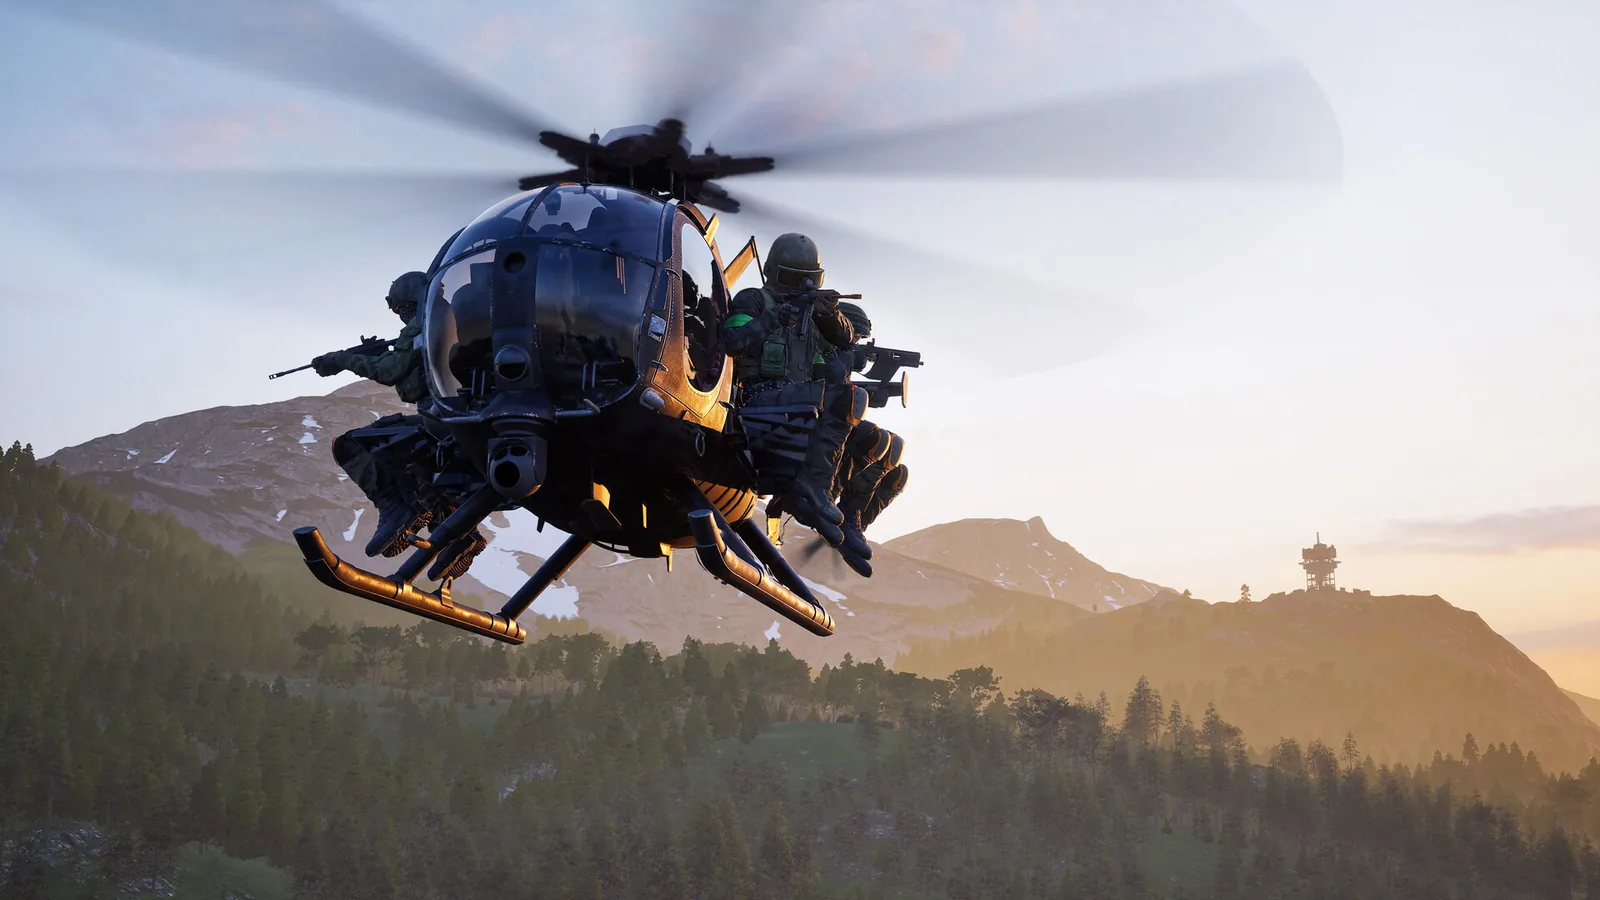
Flying passengers into the fight pays noticeably better than driving them, but the risk now scales with how good you are at the stick, since a crash can cost the whole airframe. Dropping into the Hot Zone rather than the open field currently pays about $390 and 50 XP per delivery, launch-week figures a patch could move, and that roughly doubles to around $1,000 and 200 XP if the passenger is still alive shortly after landing. It suits a pilot confident enough to fly wounded riders somewhere safer instead of leaving them on the roof, and hovering low inside the Hot Zone, which counts as two occupants, currently adds close to $320 for every tick you hold it. None of this is worth running as a strategy until helicopter piloting hits level 10, which unlocks bigger helicopters than the starting Littlebird; the fastest way there is flying Littlebird passenger transport missions first, which levels the same track while doubling as flight practice for the bigger runs (verify the level threshold against your current build).
Safe, high-value logistics runs
A step riskier than ferrying people but still close to risk-free, this rung means flying or driving supply crates and pallets out to forward bases instead of passengers. A small helicopter can only sling loose crates that squadmates often walk past, an unlockable transport heli carries one pallet that randoms reliably grab, and a larger truck available from around level three can carry two pallets and turn a single run into serious money. It suits anyone who would rather grind steady income than gamble on a firefight, since other players pick up the same pallets for their own cash and XP, which keeps this rung about as safe as the ladder gets while still paying real money.
Simple building as support
Grab a small or medium hammer, whether you bring it in yourself or grab one waiting at a forward base, and put up structures near your own side's nearest tower for calm, unglamorous work early in a match; the only real threat is enemy harassment while you sit exposed mid-build. It suits a support player who wants steady income without chasing kills. Treat it as an early-match habit rather than a late-game plan, since mortars and anti-air start reaching further once both sides progress to bigger equipment.
High-value building: mortars and anti-air, medium risk
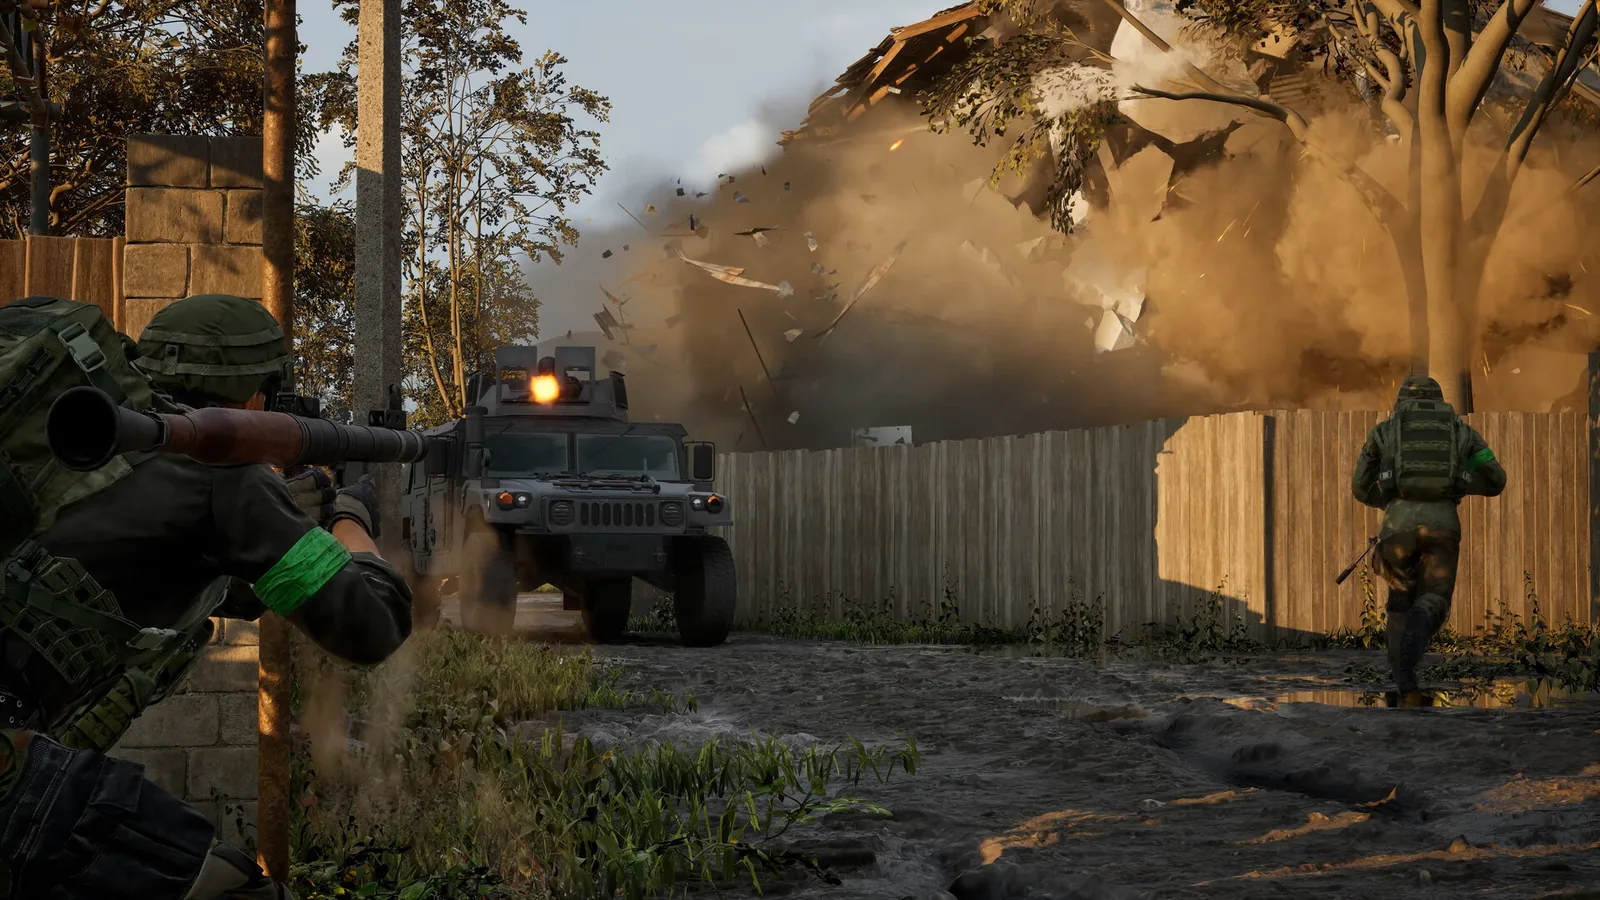
Setting up at a forward base to build mortars and anti-air, then using that anti-air to down helicopters and shelling the enemy base before it can shell yours, is where the real money starts; one launch-week run reportedly cleared something like 250,000 in a single game. The priority targets are the enemy's own anti-air, drills and especially any spawn vehicle parked at their base, and the moment the other side starts building mortars of their own, taking those out first becomes urgent. It suits a player willing to eyeball map grid squares, worth roughly 100 metres each on the launch-week maps, to range a target, walk a ranging shot onto it, then commit; the risk here is mostly counter-battery fire once the enemy notices where the shells are coming from.
Spawn-vehicle Hot Zone method
Driving your team's spawn vehicle into the Hot Zone and parking it there earns money every time a teammate spawns off it, more again if that teammate survives, plus Driver XP for whoever drove it in, and simply being inside the Hot Zone doubles all of it compared to open ground. The vehicle only unlocks once your team crosses its first 20 points, returns roughly five minutes after it is destroyed, and only one exists per team at a time, so it suits a player willing to wait at spawn for the unlock rather than one who wanders off and misses it. Risk stays low early on since the vehicle itself is rarely anyone's first target, and parking it as cover also sets up easy revives, spotting or looting on the side.
High-risk combat heli: gunner and rocket seats
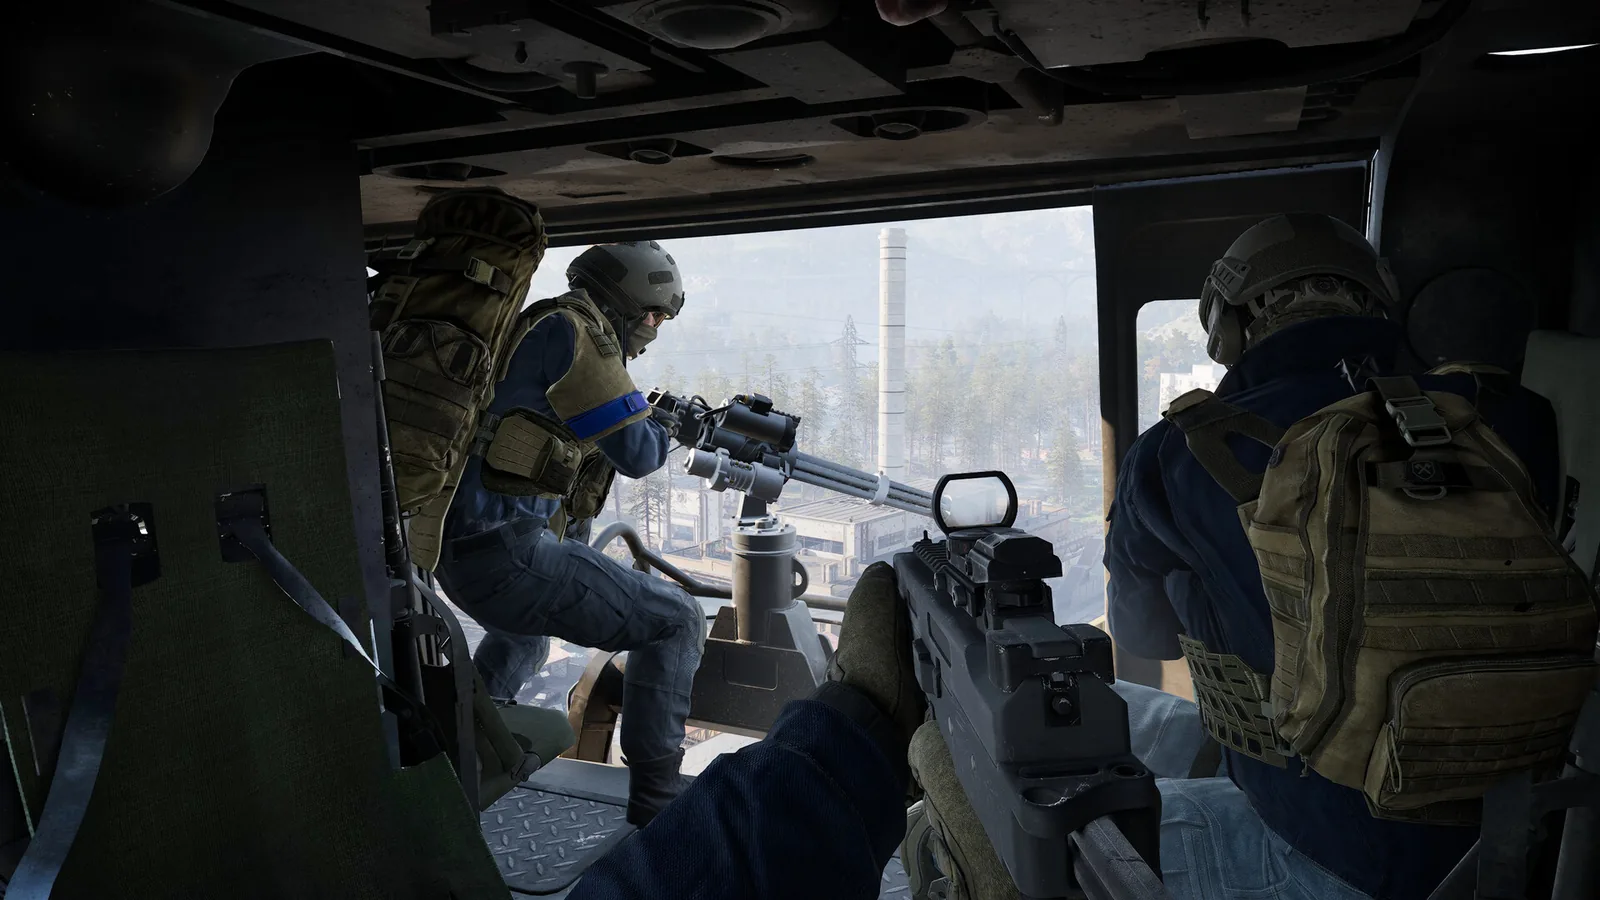
Gunning from a combat helicopter is genuinely high risk for genuinely high reward, favouring a pilot and gunner willing to fly low over open, crowded fighting instead of hanging back at a safe distance. A sharp gunner can reportedly string together streaks in the range of ten to twenty kills before needing to restock, especially over exposed open ground, while a rocket-armed heli earns its keep against vehicles and expensive builds like enemy mortars and anti-air, since each rocket costs more but pays off against a big target. It suits an experienced pilot-and-gunner pair with enough flying skill to actually survive the airspace, since this sits among the highest skill ceilings on the whole ladder.
Combat farm: kills and assists across roles
Straightforward fighting, kills, damage and assists, levels whichever role your current weapon belongs to: an assault rifle for the Assault track, a submachine gun for Medic at close range, a shotgun for Support, and a scout rifle mostly for assists once armour makes clean sniper kills harder to land. It suits anyone already fighting for the objective anyway, since it needs no detour from the fight, and carrying binoculars alongside your main weapon adds Recon spotting income on top of whatever the fight itself pays, whether that fight goes well or badly. Risk sits in the middle of the ladder: real gunfights can turn against you, but there is no separate setup or vehicle riding on the outcome.
Hot-zone combat: the highest risk, highest reward rung
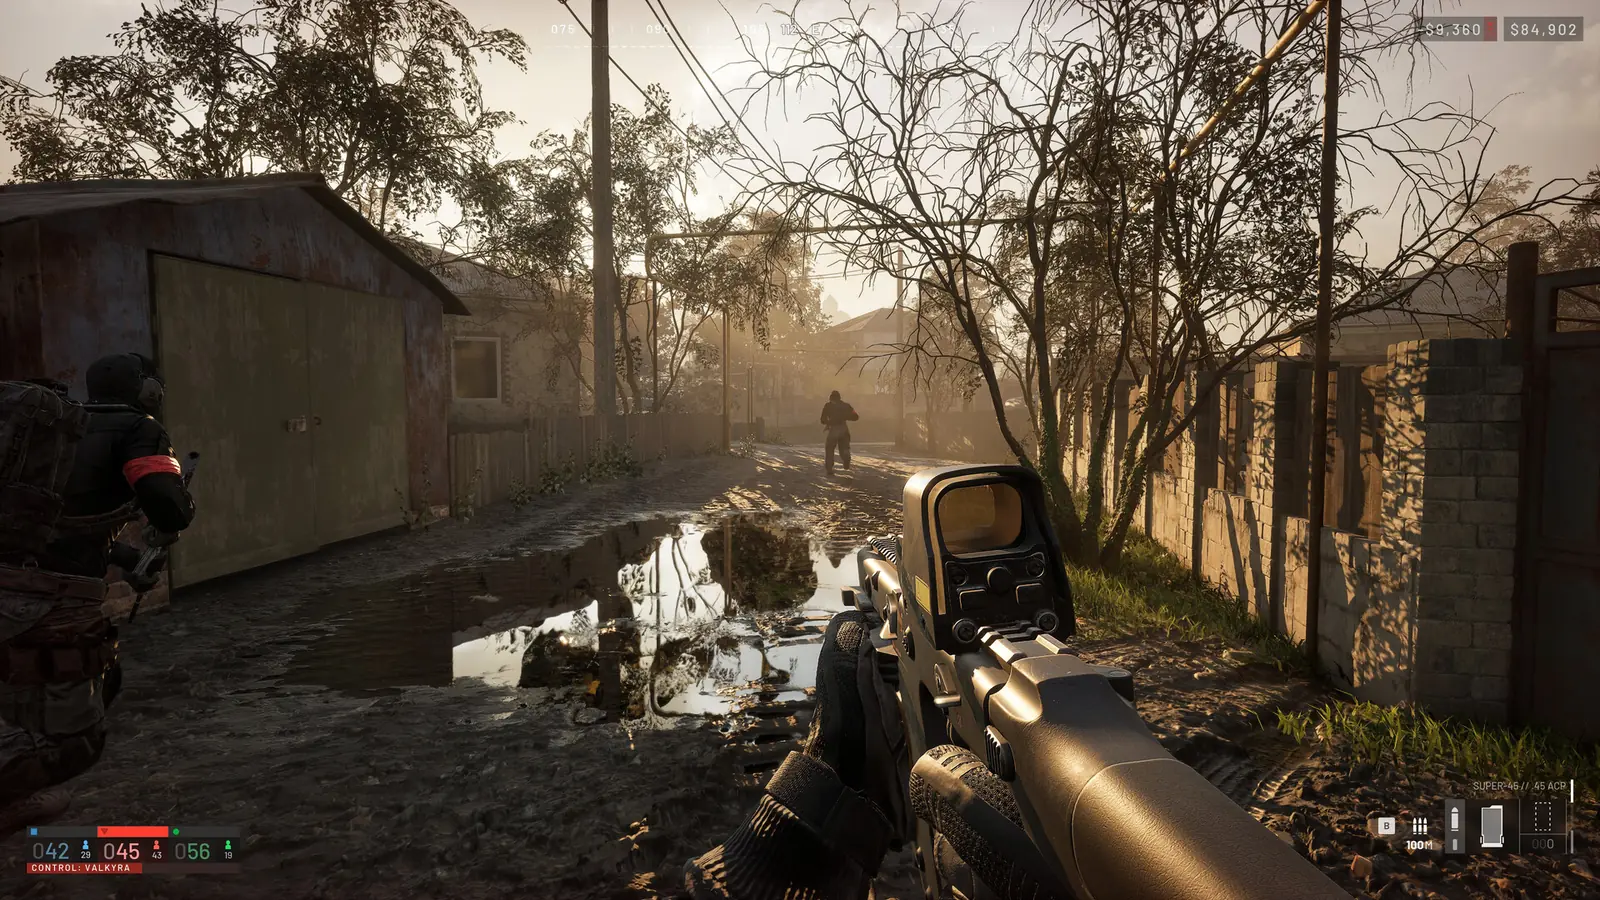
The same fighting, reviving and spotting habits from the rung above pay out roughly double the moment they happen inside the Hot Zone instead of the wider Control Zone, a kill reportedly worth something like 3,000 there against 1,500 elsewhere, again launch-week numbers. It suits a player confident enough in a fight to want the enemy's full attention, since the Hot Zone is where both sides concentrate their strongest players and heaviest guns. It sits at the top of this ladder precisely because the extra money and XP come from standing in the single most contested patch of ground in the match.
Best risk-to-reward summary
Building mortars and anti-air at a forward base is the strongest pick on this list: medium risk from eventual counter-fire, but the payout usually earns it. Hot Zone piloting drops are a close second for a confident flyer, since a fast drop and an equally fast exit rarely leave you exposed for long. For income that is close to free, running pallets by transport heli or truck is hard to beat, since even a crash barely costs you anything. And if the goal is simply the single richest, riskiest rung on the ladder, Hot Zone combat pays the biggest numbers precisely because it puts you in the most dangerous place on the map.
SOURCE BRIEFING
Source video from RageGamingVideosWardogs - This Strategy is OP - Easy FAST Money On ALL Roles & Classes - Best XP Money Farm Guide!
Watch on YouTubePlaying loads YouTube. Choose captions in the player settings. Credit and thanks to the creator.
Related field notes
 WARDOGS10 Sep 2026Wing Mait setup and optional OBSStart WARDOGS, set Wing Mait's capture and minimap options, choose a voice and ARM for direct callouts; OBS is only for optional streaming overlays.FIELD NOTE 45
 WARDOGS26 Sep 2026Castle Without BordersBravo 4 makes the castle case for building a FOB keep first, then outhouses and small cells, with the perimeter last, backed by prior art and library plans.FIELD NOTE 46
 WARDOGS5 Oct 2026Stingray drone guideBuild the Stingray launcher, fly the drone without crashing it, wait for the red lock, and learn the APC's separate radar hitbox before you waste $5,000 finding out the hard way.
Sources
Numbers and mechanics on this page are paraphrased from:
- RageGamingVideos, "This Strategy is OP, Easy FAST Money On ALL Roles and Classes" (YouTube, published 2026-09-11)
- MrJustJoey, "How to Make $350,000+ in WARDOGS WITHOUT Risking Your Money (Even If Your Team Loses)" (YouTube, published 2026-09-24)
Wing Mait is an independent project, not affiliated with or endorsed by WARDOGS or its publisher.