WARDOGS / FIELD NOTES
The Stingray: how to fly it, lock it, and stop losing $5,000
The Stingray drone can one-shot almost anything on wheels or tracks in WARDOGS, but only once you have the controls, the lock, and the FOB spot sorted. Get any one of those wrong and it is $5,000 gone for nothing.
Quick card
- Cost per shot
- 900 spare parts, about $5,000 (a second source lists them separately)
- Unlocks with
- The large hammer, support class
- Battery life
- About 4 to 5 minutes
- Flight controls
- WASD to fly, mouse for fine aim, Shift to boost
- Before you fire
- Wait for the beep and the red box
- APC weak point
- The hull, not the radar dish on top
Building it: the large hammer and the bill that comes with it
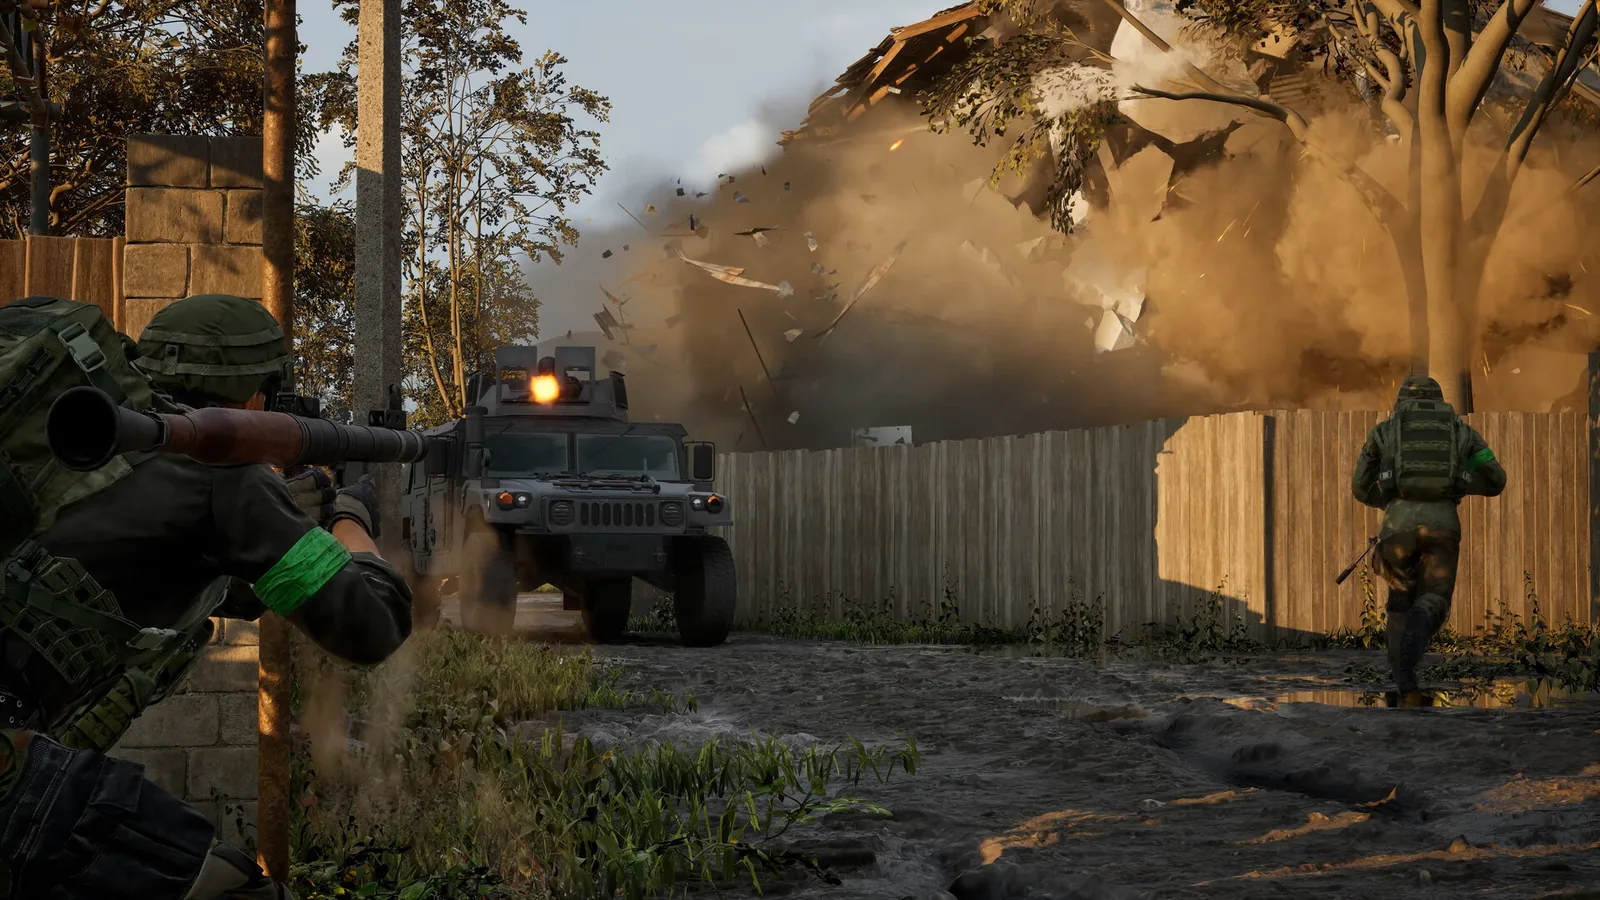
The Stingray launcher goes down with the large hammer, which you unlock through the support class, so turning up at a FOB without one means you cannot place it at all. It works on the same footing as a mortar, a launcher you build at your base, except instead of a shell it sends up a long range UAV attack drone with a camera on the front for scanning targets. Each drone costs 900 spare parts to launch, which comes out to roughly $5,000 a shot, so keep a delivery driver bringing in mechanical parts or you will run dry after a couple of launches. StoneProtocol (5 October) adds that the launcher has to be built inside a FOB perimeter, that the small and medium hammers cannot place it, and that the launcher itself costs 121 supplies as a very fast buildable. He also says to point the barrel at the direction you plan to fly when you place it, so you do not burn battery turning in the air. One figure differs between the two sources: StoneProtocol describes paying $5,000 for the drone and then loading 900 mechanical supplies, while the cost above reads as one 900 part bill of about $5,000. We have not reconciled the two, so check the shop in the current build and practise in the firing range before you spend real money. The fobs and building guide below covers hammer tiers properly if you are still working out which one gets you what. Update, 4 November 2026: Goonz Gaming's Stingray tactics video also gives the two costs separately, $5,000 and 900 mechanical supplies per drone, which matches StoneProtocol's reading.
Flying it: WASD, boost, and a four to five minute clock
Fly the drone with WASD and save the mouse for small adjustments once you are lined up, rather than steering the whole approach with it. Holding Shift boosts your speed but burns through the battery a lot faster, so save it for closing distance rather than holding it the whole flight. Left Alt gives you freelook, letting you scan for targets without dragging the drone off its heading. The battery only lasts about 4 to 5 minutes, and the turning radius is wide, closer to a school bus than a car, so plan a proper loop into your target rather than trying to cut a sharp corner, which is how most drones end up in the dirt. StoneProtocol presents the controls the other way round: the mouse to bank and pitch, with W and D as a keyboard alternative, so try both and keep whichever you fly more steadily. He adds that holding Control brakes for tighter turns and gives a slight zoom for reading distant targets, which helps with the wide turning radius above, and that C ejects you back to your character. He calls the battery indicator the number to watch, since the drone crashes at zero, but gives no time, so the 4 to 5 minute estimate above stays with the first source.
The lock: wait for the beep and the red box before you commit
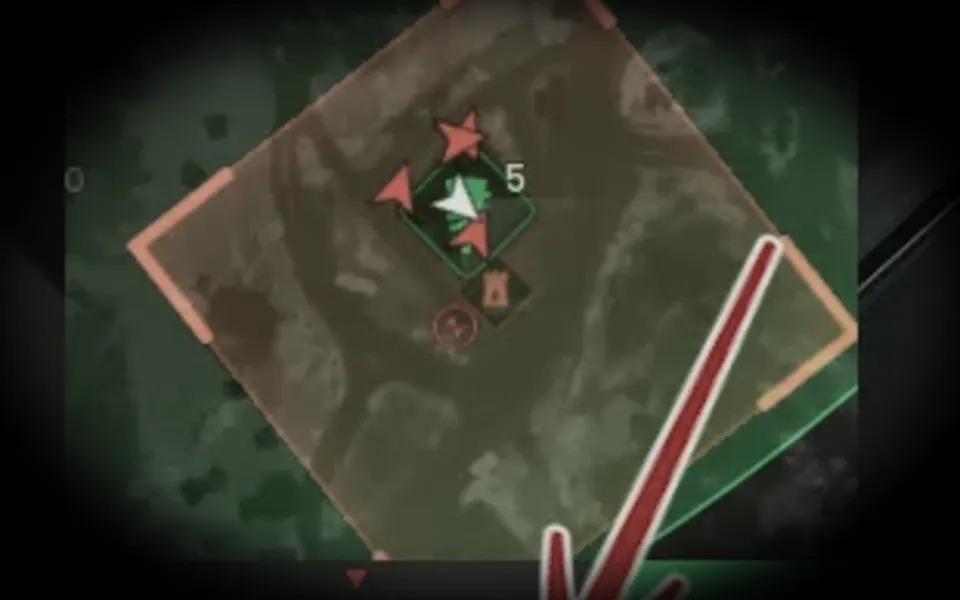
A visible enemy vehicle shows a white box, though foliage, buildings, and terrain can hide it, so get some height if you have lost sight of one. As you close in on a proper approach the drone starts beeping and the box turns red. That red lock is the whole game: fire before it turns red and the drone is just as likely to bounce off the target without detonating, which burns the full $5,000 for nothing. Hold the lock all the way in rather than letting it slip on the final stretch. StoneProtocol adds a point about timing: do not lock the moment you see a target, because the target can hear the lock and drive away, so close the distance first and lock late. That sits in tension with holding the lock through the whole approach. One way to square them is to approach unlocked, lock late, and still confirm the red box before you fire; that is our reading, not either creator's instruction.
What it kills, and the APC's separate radar hitbox
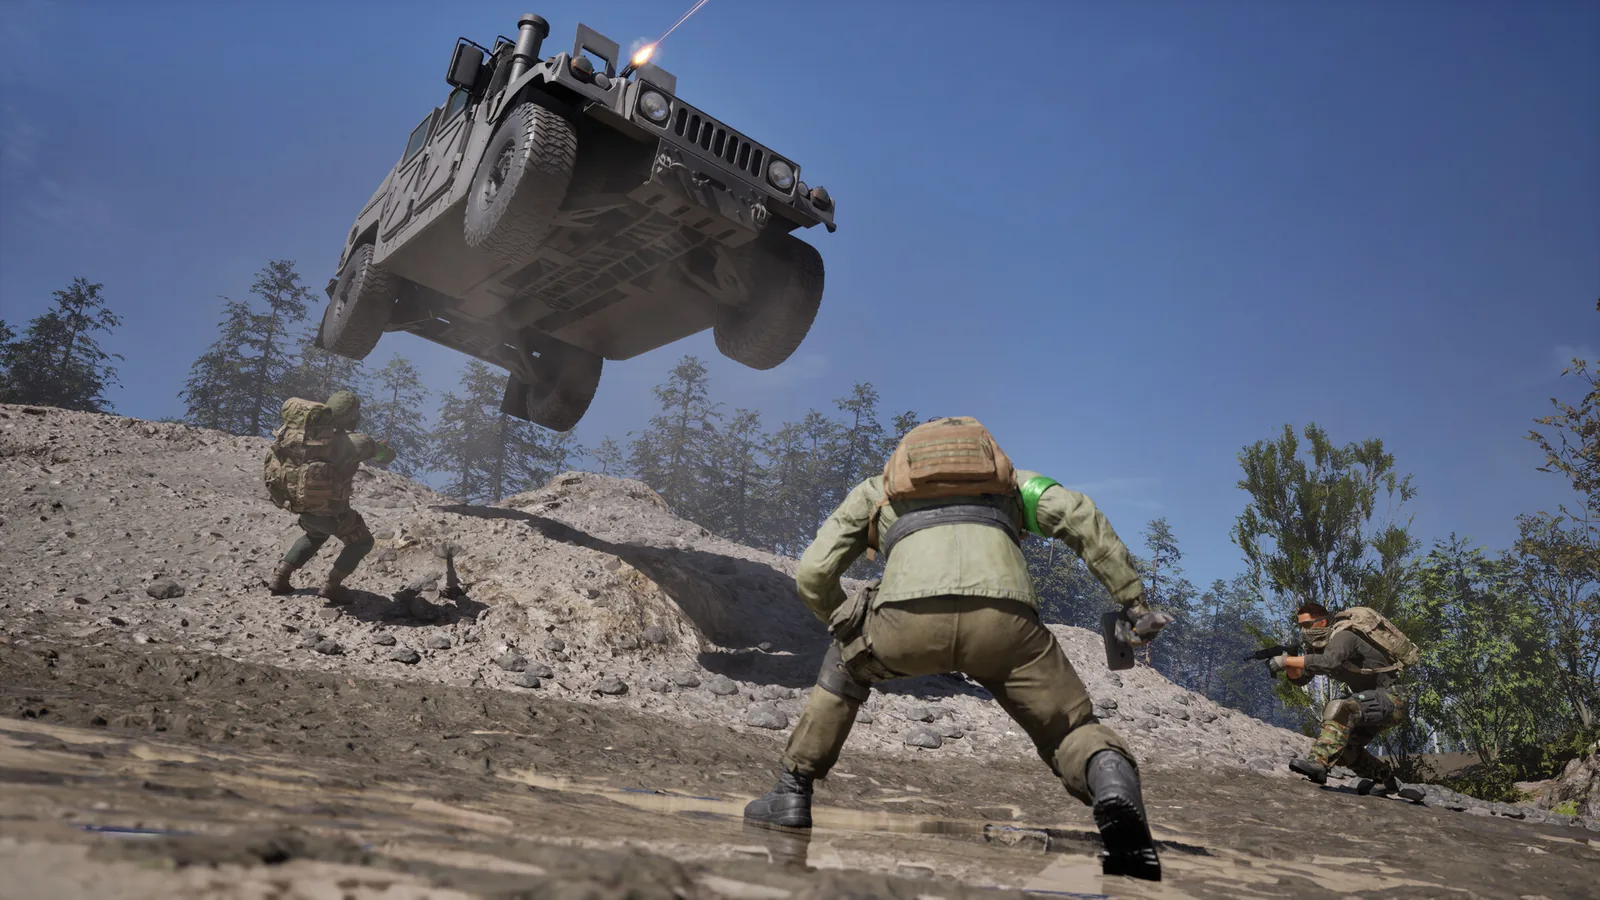
Properly locked, a single drone puts down tanks, artillery tanks, Urals, Ural Defenders, armoured Humvees, and APCs in one hit, so the cost is real but so is the return. The one thing to watch on an APC is the spinning radar dish on top, which has its own hitbox separate from the hull. Hit only the radar and you have destroyed a part the enemy can simply repair while the vehicle itself drives off untouched, so come in from the side or the rear rather than straight overhead. The same logic applies to any soft surface: a windscreen or an exposed position on the vehicle can kill the soldier riding there without detonating against the hull, which nets a few hundred dollars for the kill and loses the full drone cost anyway. Aim for hard metal, not glass or a body. The spawn APC guide has more on that vehicle's own weak points if you are hunting it specifically.
Where to build it: the circle pays more, a hidden position pays longer
A launcher built inside the objective circle earns a bigger payout per vehicle than one outside it, so if pure profit is the goal, that is where to put it. But a position that stays hidden all match keeps earning launch after launch, while a maximum-payout spot that gets found and torn down earns nothing for the rest of the game, so weigh the two against each other rather than chasing the bigger number by itself. Look at how enemy vehicles are actually moving before you commit to a spot, and remember the APC in particular only spawns once a team hits 20 points, which gives a predictable window to be ready for it. StoneProtocol describes three sites. A FOB already inside the zone has teammate support and the zone cash multiplier, but draws counter artillery and mortar fire. A hidden site on the zone edge in woods keeps the multiplier and is harder to spot, but you carry your own supplies and it is exposed without squadmates. A site outside the zone is the safest and easiest to resupply from spawn, but he says it gives up the zone payout and struggles to turn a profit. He recommends the zone edge with squadmates, because flying the drone leaves your own character exposed. This differs from the point above: the first source says a launcher inside the circle pays more per vehicle, while StoneProtocol credits the multiplier to both in-zone and edge sites. We have not reconciled the two; what they share is that a hidden, supported position beats an exposed one. If you run Wing Mait's callouts, a spotted enemy vehicle on its way in is exactly the kind of warning that turns a rushed shot into a clean one.
Target order: the respawn vehicle first, artillery second
StoneProtocol ranks two targets. First is the respawn vehicle, which he says appears at the 20 point mark, so its timing is predictable and matches the APC window above. Destroying it stops enemies spawning straight into the zone and pushes them onto helicopters and trucks, which matters most when you have drone cover and they do not. Second is enemy artillery, which can hit a FOB from more than a kilometre outside the zone; he calls it a sitting duck for a Stingray when its driver is not watching the sky. Watch the kill feed for hostile artillery and fly toward its spawn. Helicopters become possible with experience, but he says they are much harder than they look.
SOURCE BRIEFING
Source video from SaucySurgWar Dogs Stingray Guide - The Ultimate Vehicle Killer
Watch on YouTubePlaying loads YouTube. Choose captions in the player settings. Credit and thanks to the creator.
Related field notes
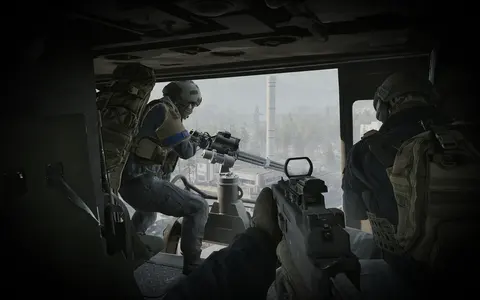 WARDOGS28 Sep 2026Vehicle weak spotsWhere to aim on buggies, trucks, the L2A6 and the SPH-2 artillery tank, and what actually kills each one fastest.FIELD NOTE 48
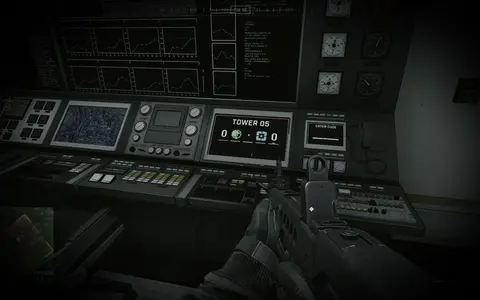 WARDOGS28 Sep 2026Flares and missile dodgesRead the two lock-on tones, hold the safe altitude band and pop your flares at the right second so the Talon and the Verba stop being a death sentence.FIELD NOTE 49
 WARDOGS28 Sep 2026FPS and performanceDisplay settings, Steam and Windows configuration, and GPU driver tuning for more frames and less input lag, plus which popular tweak to skip.
Sources
Numbers and mechanics on this page are paraphrased from:
- SaucySurg, "War Dogs Stingray Guide: The Ultimate Vehicle Killer" (YouTube, published September 25, 2026), 15 minutes 24 seconds
- StoneProtocol, "WARDOGS | Stingray Guide | Everything You Need To Know!" (YouTube, published October 5, 2026), 8 minutes 54 seconds
Wing Mait is an independent project, not affiliated with or endorsed by WARDOGS or its publisher.