WARDOGS / FIELD NOTES
Vehicle weak spots: where every truck and tank is weakest
Every vehicle in WARDOGS has a spot that dies faster than the rest of it. This field note lines up the buggies, the trucks and both tanks so you know where to aim before you spend a rocket on the wrong panel.
Quick card
- Small vehicles
- One shot almost anywhere except the tyres
- Ural weak point
- Fuel tank, driver's side (verify against your build)
- Tank engine
- Rear only: one RPG, one C4 or a mortar round
- Tank tracks
- Side only, a front hit does nothing
- L2A6 front armour
- About 7 RPGs, mostly wasted ammo
- Stingray
- Around 5,000 in parts, one-shots either tank
Small vehicles: it's the tyres or nothing
Buggies, the Kodiak and the Bobcat are all soft targets: almost any hit, front, side or rear, drops them in one shot from an RPG or a solid rifle burst. The one exception is the tyres. Hit a tyre and most of the damage gets absorbed there instead of passing through to the frame, which is exactly why you'd aim there on purpose if the goal is to stop the vehicle rather than kill everyone in it. An assault rifle needs around six shots to deflate a tyre and another six to blow it down to the rim; a shotgun does each stage in one or two shells. Save the RPG for when you actually need the kill, not the stop.
Humvees and Urals aren't built the same
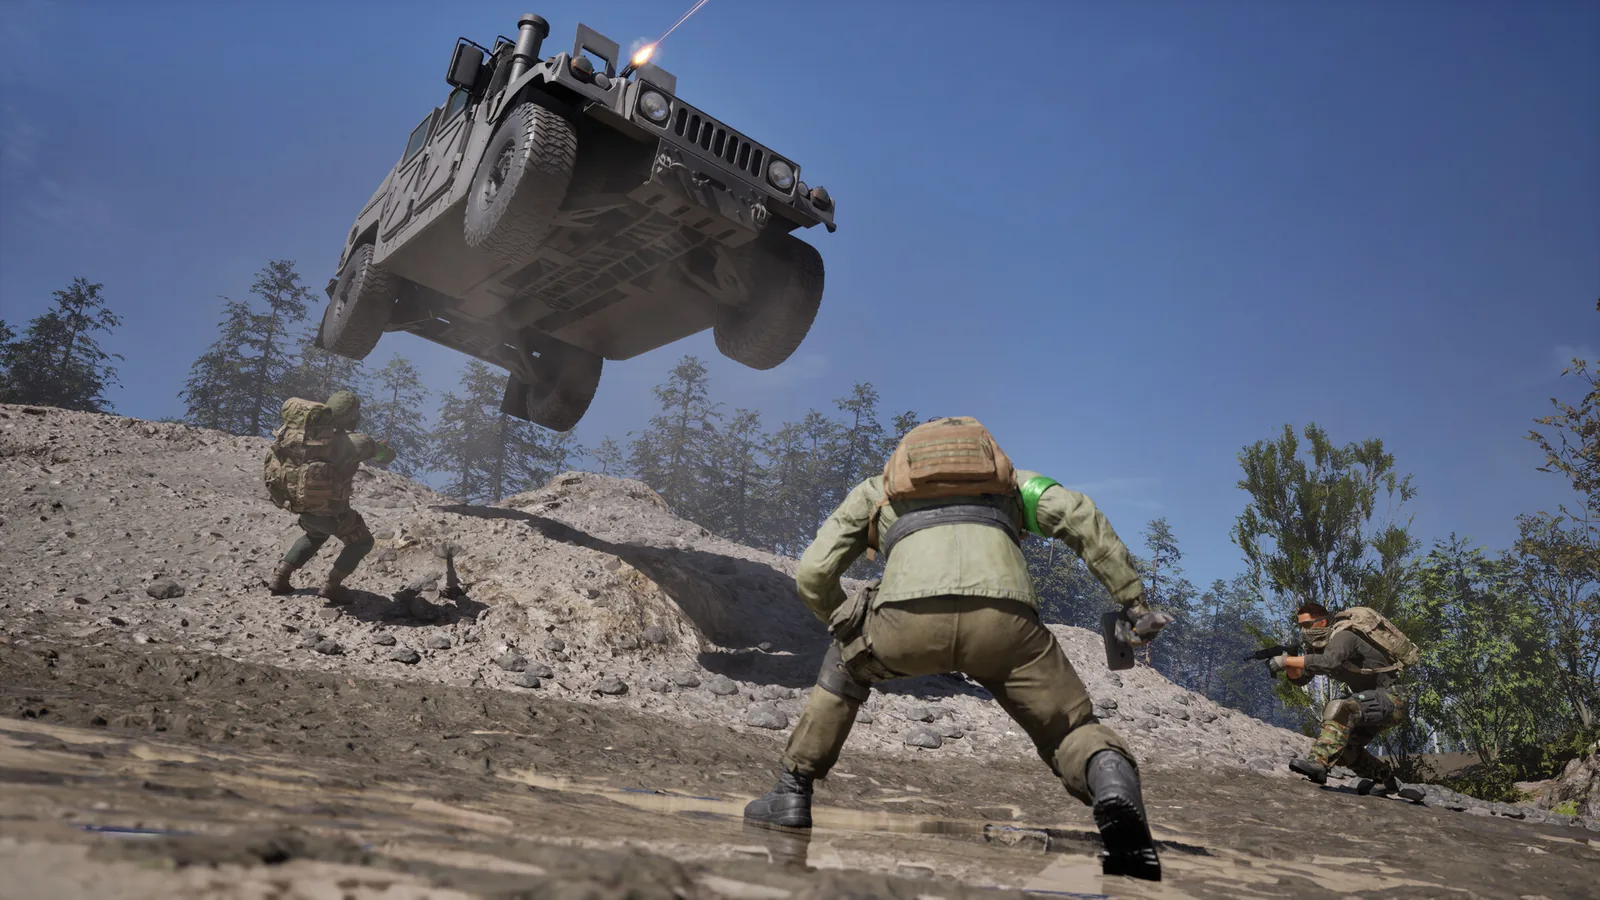
The Humvee takes more punishment than the buggies but not by much: a hit to the grille removes roughly half its health, the sides do about 40 percent, and the rear does noticeably less, so two rockets from the front or side usually finish it and the back is the worst angle to bother with. The Ural supply truck is the surprise. It absorbs more damage overall and typically needs three or four C4 charges to put down properly, but it has a specific weak point on the driver's side, the fuel tank, that some hits have taken down in a single rocket. Results there were inconsistent between attempts, so treat it as a genuine soft spot rather than a guaranteed one-shot, and verify against your current build before you plan around it.
Every tank shares the same three components
Whether it's the L2A6 main battle tank or the SPH-2 artillery tank, the same three components decide the fight: the engine, the tracks and the fuel line. The engine sits at the rear and dies to one RPG, four well thrown grenades, a single C4 charge, or even a mortar round landing just behind the tank; kill it and the tank is stuck in place, though the crew can still shoot back. The tracks want the opposite angle: they only take damage from the side, a front hit on them does nothing at all, and one RPG, one tank shell or three to four grenades will strip them off. The fuel line can be punctured too, most reliably as a side effect of a rear hit, and once it's leaking the tank has lost fuel even if the crew patches the rest of the damage. The mortar fire missions guide covers landing that shot on a moving target in the first place.
Rear beats side beats front, every time
Both tanks follow the same shape: the rear is the weak side and the front is a waste of ammunition. On the L2A6, front hits soak up around seven RPG rounds thanks to extra plating on that face, while the rear only needs three; C4 tells the same story, three charges from behind against seven from the front. The SPH-2 artillery tank has no front armour at all, so its numbers are flatter (roughly five RPGs whichever side you pick) but it's still the softer of the two, and two C4 charges from the rear will finish it. Landmines, two of them, and a direct mortar hit kill either tank outright regardless of angle. These counts come from field testing on a specific build, so treat the exact figures as a guide rather than gospel and verify against your current build.
The right tool beats the raw numbers
A Stingray shot is the cleanest answer to either tank: it costs around 5,000 in spare parts per launch, but the drone flies itself onto the target and one-shots both the L2A6 and the SPH-2, which is exactly why hunting tanks sits on the higher-reward end of the money farming guide. Ammo type matters less than people assume below tier three armour: FMJ handles tier two vehicles fine and AP only pulls ahead once you're up against the heavier plating, so there's no need to burn AP on every truck you see. Terrain does real work too. Funnel a vehicle through a choke point or a line of hedgehogs and you turn a moving target into a stationary one, which is worth more than any single ammo choice.
SOURCE BRIEFING
Source video from AntpileI tested Wardogs vehicles for weak points, so you don't have to
Watch on YouTubePlaying loads YouTube. Choose captions in the player settings. Credit and thanks to the creator.
Related field notes
 WARDOGS28 Sep 2026Flares and missile dodgesRead the two lock-on tones, hold the safe altitude band and pop your flares at the right second so the Talon and the Verba stop being a death sentence.FIELD NOTE 49
 WARDOGS28 Sep 2026FPS and performanceDisplay settings, Steam and Windows configuration, and GPU driver tuning for more frames and less input lag, plus which popular tweak to skip.FIELD NOTE 01
 WARDOGS7 Nov 2026Road to Season 3: what BULKHEAD saidBULKHEAD's Road to Season 3 vlog: a 12 November launch, three-month seasons, multi-track unlocks, a limited mode and a 185,000 account ban wave, with timestamps and our take.
Sources
Numbers and mechanics on this page are paraphrased from:
- Antpile, "I Tested Wardogs Vehicles For Weak Points, So You Don't Have To" (YouTube, published 2026-09-21)
- Jingoea, "WARDOGS Tutorial | How to Counter Tanks, Artillery & Vehicles" (YouTube, published 2026-09-07)
Wing Mait is an independent project, not affiliated with or endorsed by WARDOGS or its publisher.