MW4 DMZ / FIELD NOTES
Reading the DMZ HUD: threat bar, compass, storm timer and the rest
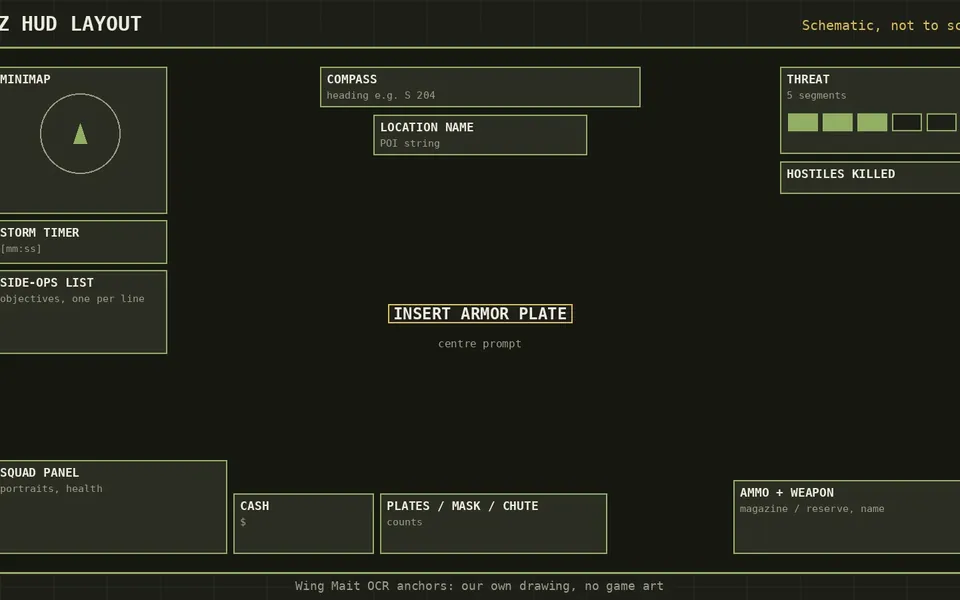
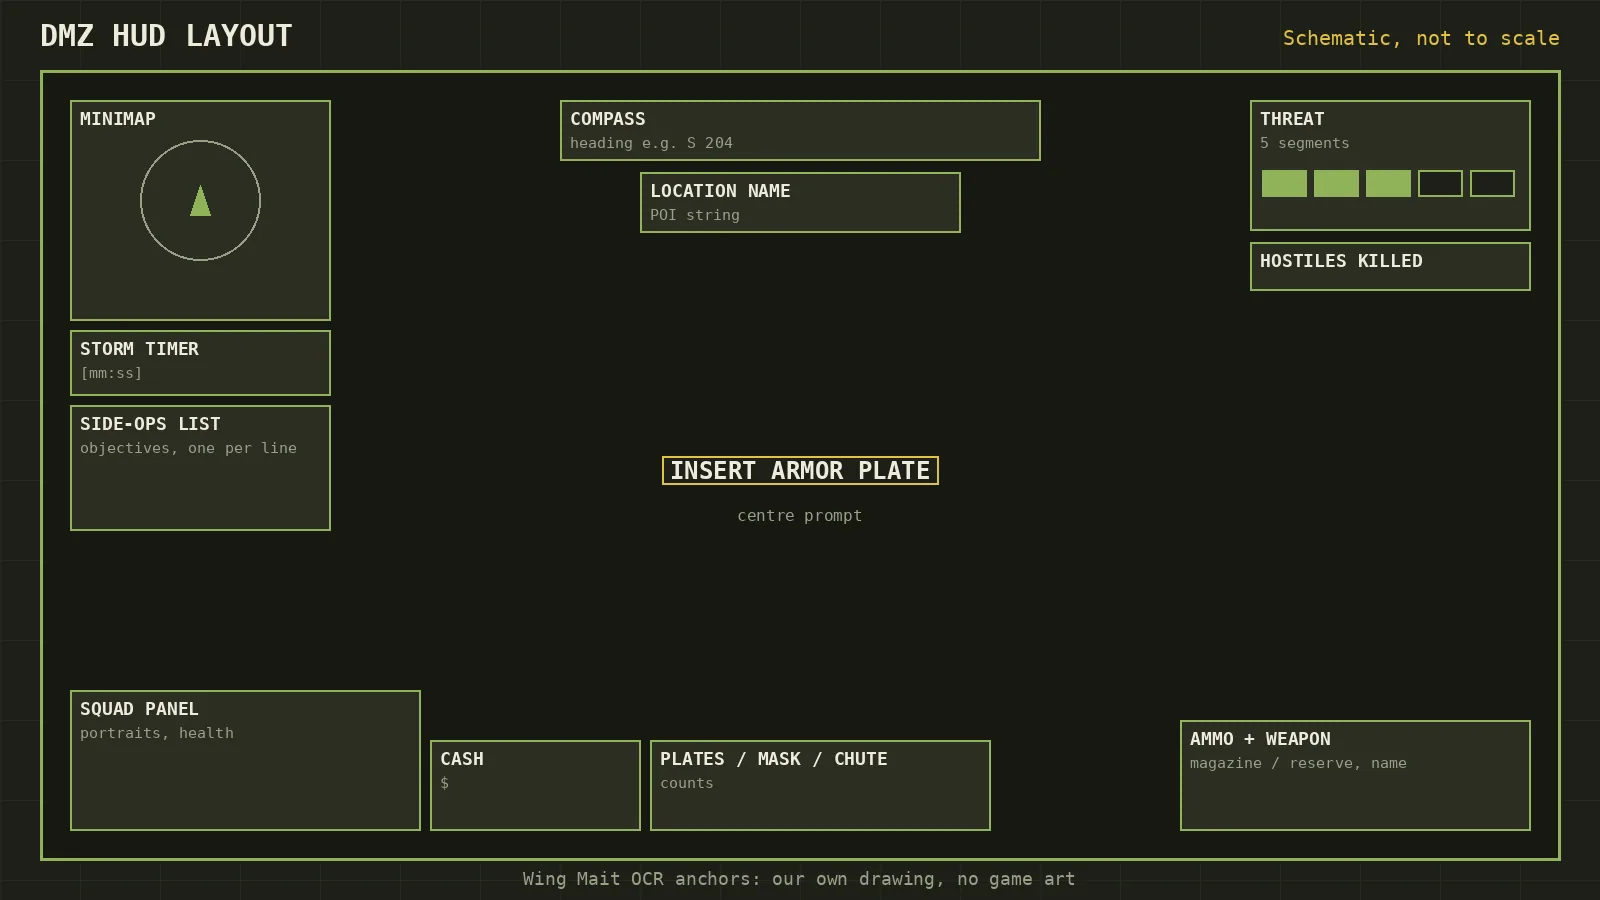
The useful parts of the MW4 DMZ HUD are small, they live at the edges of the screen, and they are the first things to be missed in a firefight. This is a walk through each one, and through the callout we plan to build from it.
Quick card
- Compass
- Top centre: heading such as S 204, plus the area name
- Threat bar
- Top right: five segments, with a Hostiles Killed counter
- Storm timer
- Under the minimap, in minutes and seconds
- Squad and supplies
- Bottom left: portraits, health, cash, plates, gas mask, parachute
- Ammo
- Bottom right: count, weapon name, rarity pips
- Damage ring
- Screen edge: red glow and vignette
Small things at the edges
A busy screen is rarely busy in the middle; it is busy in the corners, where the numbers live, and the DMZ HUD in the public footage we have studied follows the habit exactly, with a location name here, a short bar there, a timer under the minimap and a tiny counter beneath the bar. Everything below describes the interface as seen in that footage, and layouts and wording can change before and after launch on 23 October 2026. For each element we say what it tells you and which spoken callout we plan to make from it, and every one of those callouts is planned for the DMZ pack, not shipped.
Compass heading and location name
At the top centre the compass shows a heading, in the footage written as something like S 204, and underneath it the name of the area you are in, such as Chang-san Air Base. The name is plain text, which is a gift, since matching it against the thirteen major places in our Hajin map guide needs no map reading and no guesswork about where you stand. The planned callout is a short line when you cross into a new area. It would be the same sentence a squadmate would say, and no longer.
The threat bar and Hostiles Killed
The official scale runs Low, Medium, High, Critical and Extreme, and on screen it appears at the top right as a bar of five segments labelled THREAT, with a Hostiles Killed counter beneath it. The kill count feeds a Marked for Death trigger, and we do not know the threshold, so we are not going to pretend to (a guessed number on a website tends to become somebody's plan). What we can plan is a callout when the bar steps up a level, and a warning on the approach to Marked for Death once the rule is confirmed in the release build.
The storm timer
Beneath the minimap sits a countdown for the radiation storm, written in minutes and seconds, and the storm grows stronger as the match goes on, so the number matters most at the moment you start thinking about leaving. A frame in the footage shows it reading 19:39. That is a single frame, not a statement about how long a match lasts. The planned callout is a spoken countdown at a few chosen moments, so that the exit can be planned with your eyes still on the room.
Side-ops list and centre toasts
Down the left, under the timer, runs the list of side operations, and in the centre of the screen a toast appears when something finishes, with SIDE OP COMPLETE and LEVEL UP as the examples we have seen. These are quiet events that arrive at loud moments, which is why they are missed. We plan to read objective changes aloud and confirm completions, and it is most useful when your eyes are on a doorway and your hands are busy.
The tac map: grid squares, the radiation countdown and the Orders chain
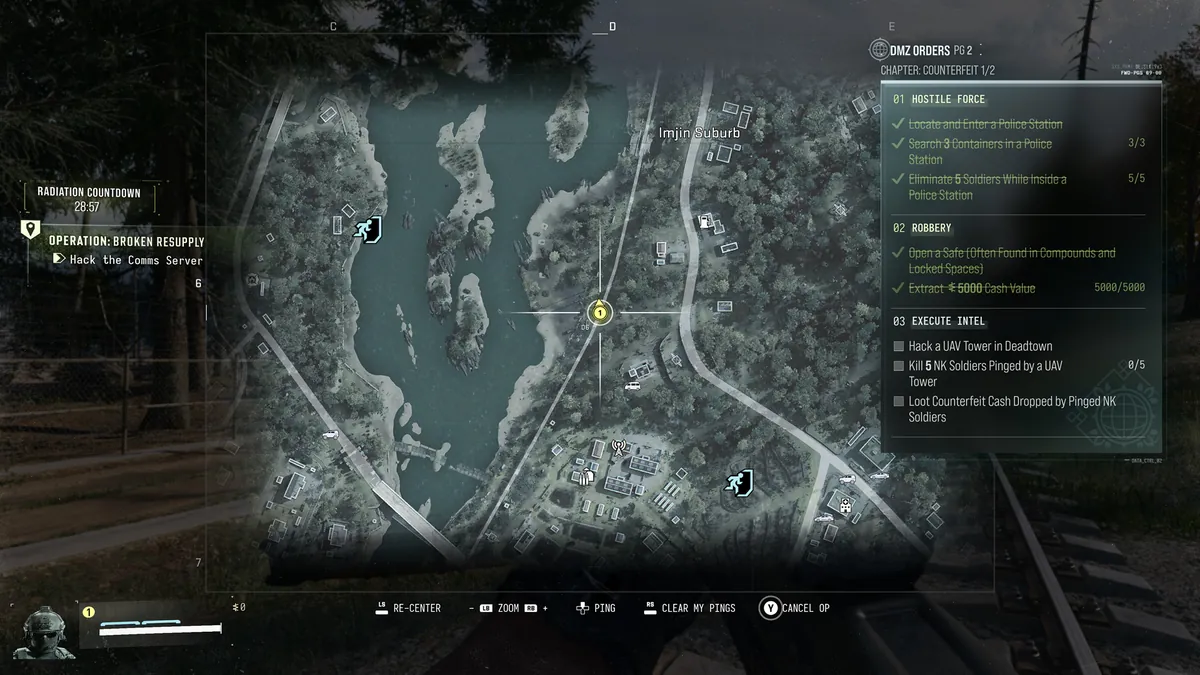
One of the official deep dive images shows the in-game tactical map, and it adds three things to the HUD picture. First, a grid: letters run along the top of the map (C, D and E in the frame) and numbers down the side (6 and 7), so a place can be given to a squad as a square, something like D6. Second, a RADIATION COUNTDOWN label with a timer, 28:57 in the frame, which is the storm clock written out in words. Third, the DMZ Orders panel for page two, Chapter: Counterfeit 1/2, with the whole chain visible. The chain reads: 01 Hostile Force (Locate and Enter a Police Station; Search 3 Containers in a Police Station; Eliminate 5 Soldiers While Inside a Police Station), 02 Robbery (Open a Safe; Extract $5000 Cash Value), and 03 Execute Intel (Hack a UAV Tower in Deadtown; Kill 5 NK Soldiers Pinged by a UAV Tower; Loot Counterfeit Cash Dropped by Pinged NK Soldiers). The first two are ticked off with counters such as 3/3, 5/5 and 5000/5000, and the third shows 0/5. On the left sits an operation line, Operation: Broken Resupply, Hack the Comms Server. For callouts, the useful part is that all of this is text. A grid square gives a squad one shared word for a place, the countdown can be spoken at chosen moments, and an order line with a counter is easy to track and confirm. Those are plans for the DMZ pack, not shipped features.
Squad panel, cash, plates, gas mask and parachute
The bottom left carries the squad portraits with their health, your cash, and the counts for plates, gas mask and parachute. For anyone deploying with a squad, the downed-teammate alert is the callout we most want to make, because the portrait changes before you have noticed it, and a voice says it sooner than an eye finds it. Nothing we have read gives a maximum squad size, so we do not state one. The supplies are the quieter case: a low plate count, or a head turned toward Haneul Nuclear Reactor without a gas mask, are both things a gentle reminder could catch.
Ammo, rarity pips and prompts
The bottom right shows the ammunition count, the weapon name and the rarity pips, and in the centre the prompts appear, such as INSERT ARMOR PLATE and the reload cue. Low ammo and reload nudges are the planned callouts. They are small, and small is the point.
The damage ring
When you are hit, a red glow and a vignette appear at the screen edge, and the side it favours tells you which way the fire is coming from, if you happen to notice. We plan a short cue that names the direction. It is the most useful callout on this list and, I suppose, the hardest to get right, since it needs the least delay.
Why reading the HUD aloud matters, and what is real today
Small text at the edges is hard for players with low vision, for players with colour-vision differences, and for anyone overloaded when a fight gets loud; hearing the information instead of hunting for it leaves more attention for the game. We make no medical claims, we simply think there should be more than one way to take in the same screen. Wing Mait today ships for WARDOGS as a 0.9.5 beta. It watches the same pixels you see and speaks callouts, and it never injects into, reads memory from, hooks the renderer of, or sends input to the game. Reading these elements reliably is a question of resolution as well as of code: the text is legible in 4K footage and very likely at 1440p, and marginal in a compressed 1080p video, so we will test against the release build. The DMZ pack is in development, anti-cheat certification is not done, and there is no approval from Activision. Follow progress at /dmz/.
Related field notes
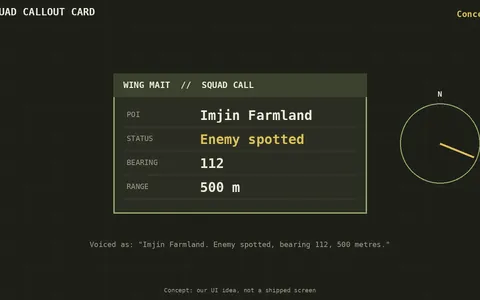 MW4 DMZ6 Oct 2026Callouts and team GPSHow we plan to turn the DMZ screen into spoken bearings, distances and place names, so a squad shares one picture of where it is and where it is going.FIELD NOTE 49
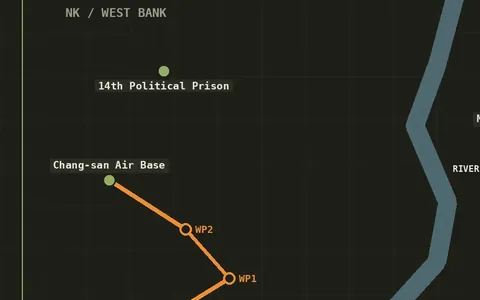 MW4 DMZ6 Oct 2026Infil planningWhy preparation is most of an infil: pick the place by threat band, pack for it, plan the exit before you drop, budget the storm timer and give the squad roles.FIELD NOTE 50
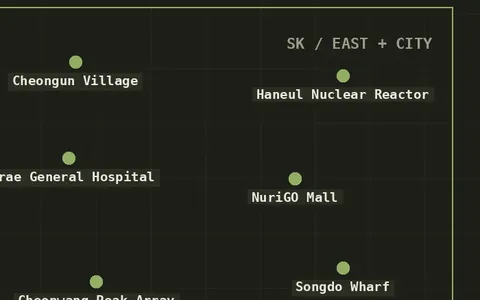 MW4 DMZ6 Oct 2026ExfilHeli, Fulton balloon and flare, why exfils are ambush points, the radiation storm and the Lieutenant dog tag broadcast, with the unknowns marked.
Sources
Numbers and mechanics on this page are paraphrased from:
Wing Mait is an independent project, not affiliated with or endorsed by Activision. Wing Mait for MW4 DMZ is in development and has not been released.