WARDOGS / FIELD NOTES
FOBs and building: hammer tiers to hot zone pulls
A forward base is a spawn, a store and a factory at once. Building one properly is the difference between a position your team holds and a pile of walls nobody can spawn behind.
Quick card
- Start a base
- Buy a FOB, place it, take the hammer inside
- Hammer tiers
- 1, 2 and 3; level 2 builds most things
- Needs a better hammer
- CIWS and mortars
- Build faster
- Hold X while swinging
- Remove a build
- V with the hammer out
- Check supplies
- Hover your FOB on the map
The FOB brings its own hammer
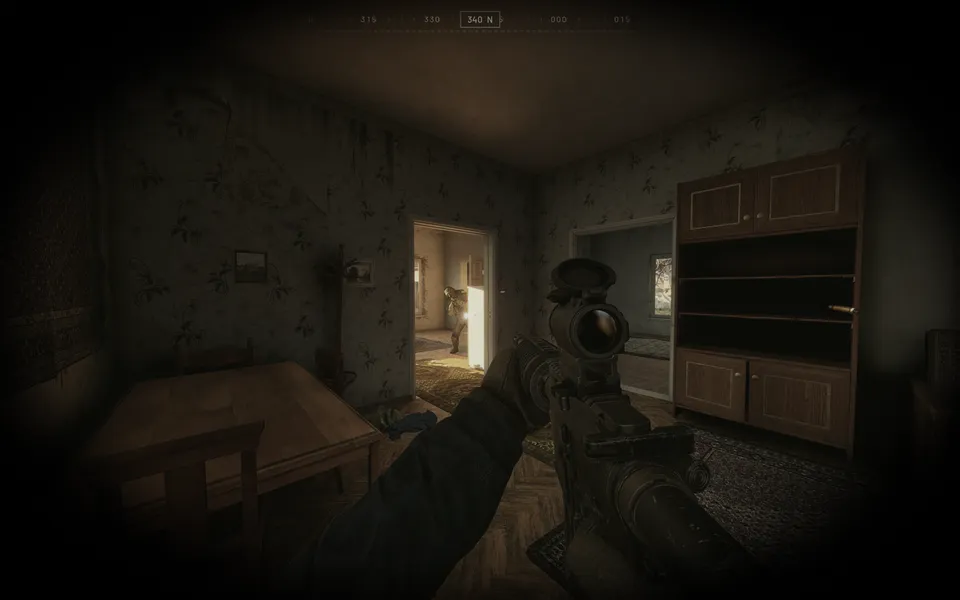
You buy a FOB at your main base, and you will also find them in the world and on bodies. Place it, then open its inventory: there is a free level two hammer sitting inside it. With the hammer out, right-click opens the build wheel, swinging puts the structure up, holding X builds faster, and V removes a build you no longer want. Nothing about this is announced in game, which is why so many bases are one player short of finished.
Hammer tier decides what you can put down
The tier of hammer you are holding, not your level, gates the build list. A level two hammer covers most of what a position needs. The heavier emplacements, the CIWS and the mortars, need better. The support heavy hammer you unlock later is the item worth waiting for: it builds, and it carries a crowbar on the other end, so the same slot lets you put up your own walls and pry open somebody else's doors. Once you do have mortars on the ground, the mortar fire missions guide covers turning a right-click on the map into a firing solution.
Supply is a readable job, not a guess
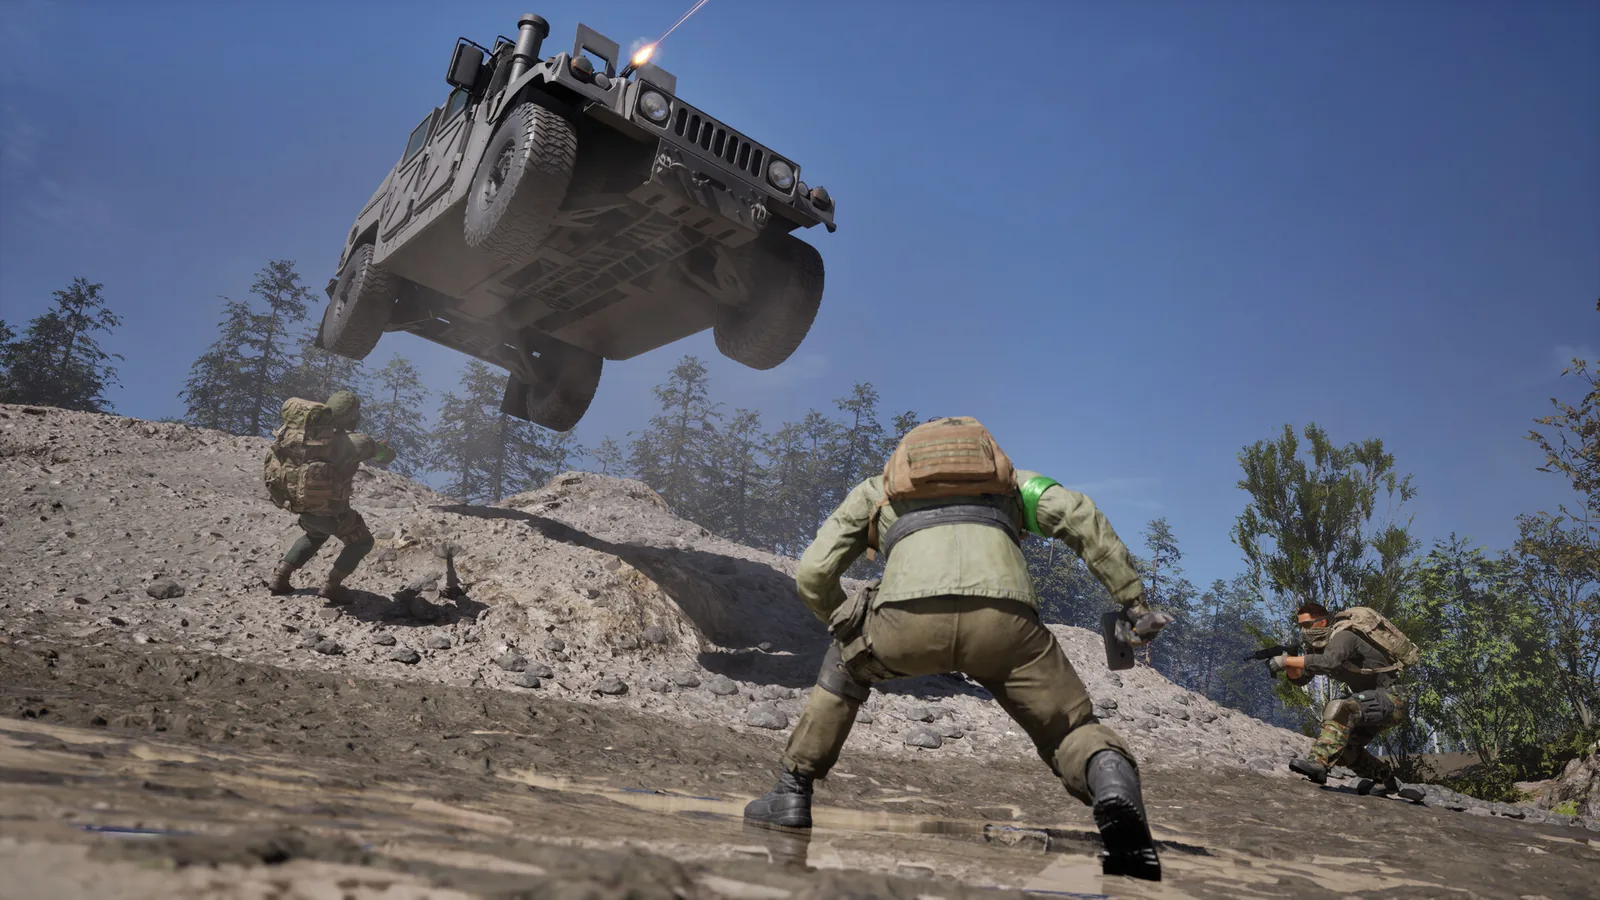
If you are flying or driving pallets in, you do not have to ask what is needed. Open the map and hover your team's FOB, side or tower, and it shows bars for build, fuel, ammunition and mechanical supply. Take what is low, skip what is already full, and drop it in. This is one of the steadier earners in the game for a driver or a pilot; the money farming guide puts it on the risk ladder against everything else you could be doing with that time.
Doors, sirens and losing the base you paid for
Close doors and gates behind you. Enemies carry crowbars precisely because built doors can be pried, and the ones who do not carry one will simply take the whole base instead: walk up to your FOB and hack it. A capture makes a loud siren, so if you hear that noise at home, someone is standing at your FOB right now and needs shooting. It works in both directions. Capturing an enemy FOB opens every door on the position without a single explosive and hands you everything the other team spent the match building and paying for.
Pulling the hot zone onto your position
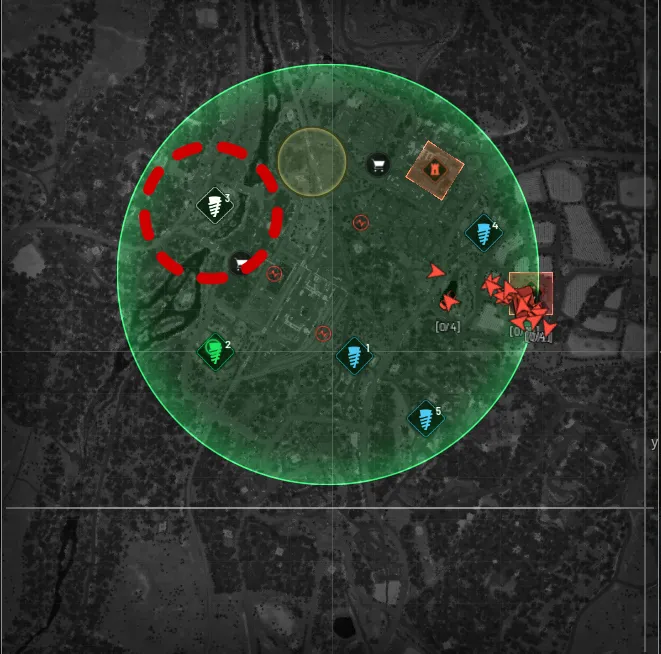
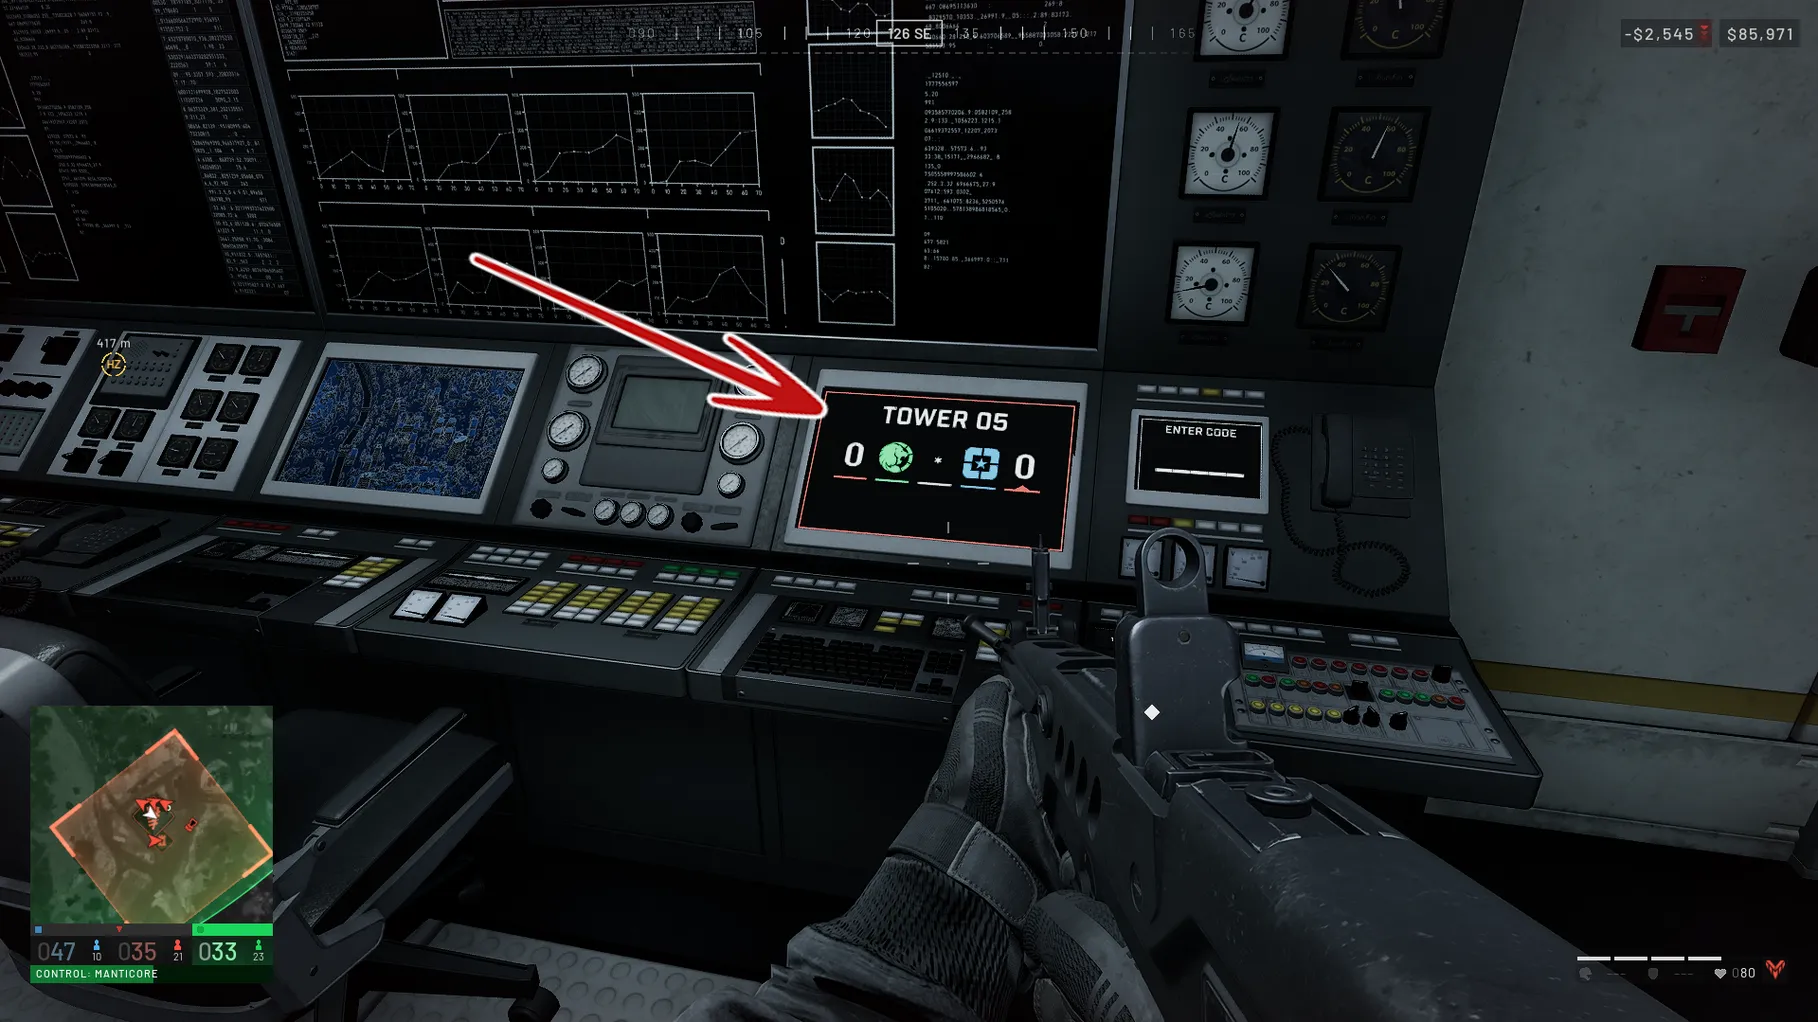
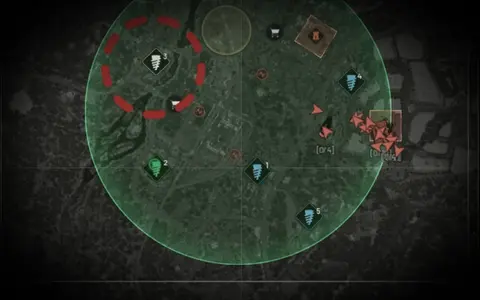
A dashed white line on the map, with a distinct sound as it starts, means the hot zone is being pulled. There are two ways to do the pulling. Build a drill tower at your FOB and it drags the hot zone toward you, at a real cost in fuel and time. Or take towers around the map for the code each one holds, and punch the code in, which pulls the zone with no resource bill at all. The towers guide covers the code hunt. Either way the prize is the same: your fortified position sitting inside the circle where everything counts double.
Nothing you build is wasted effort
The scoring is built to reward showing up. If a teammate finishes a structure you started, you both get the cash and the XP. The same is true of kill assists and of revives, where a player who defibs the teammate you were already working on gets a revive assist rather than stealing yours. Inside the hot zone every one of those payments doubles, along with the kills, the redeploys and the supply drops, which is the real argument for building inside the circle rather than safely behind it.
SOURCE BRIEFING
Source video from IceManIsaac24 Tips I Wish I Knew Sooner in WARDOGS (Tips & Tricks)
Watch on YouTubePlaying loads YouTube. Choose captions in the player settings. Credit and thanks to the creator.
Related field notes
 WARDOGS2 Oct 2026Combat engineerThree hammers, the fast-tap, the golden marker, wall maths, stacked walls and the small-hammer trap kit.FIELD NOTE 36
 WARDOGS10 Sep 2026TowersSee how to capture a tower, use its code and contest the fixed objective, then learn how tower control can pull the Hot Zone toward your team's position.FIELD NOTE 37
 WARDOGS10 Sep 2026The spawn APCLearn the 20 point APC unlock, how parking provides forward respawns, and how repair, smoke and the exposed antenna shape its use and vulnerability.
Sources
Numbers and mechanics on this page are paraphrased from:
- IceManIsaac, "24 Tips I Wish I Knew Sooner in WARDOGS" (YouTube, published 2026-09-10)
- Westie, "STOP Wasting Time In WARDOGS, Do THIS Instead" (YouTube, published 2026-09-14)
Wing Mait is an independent project, not affiliated with or endorsed by WARDOGS or its publisher.