WARDOGS / FIELD NOTES
Combat engineer: hammers, wall maths and the small-hammer trap kit
The engineer is not the person who puts walls up. It is the person who decides how many explosives the other team has to spend to get in, and who can go and ruin their supply run with a backpack full of hedgehogs. Here is the toolkit, with the numbers.
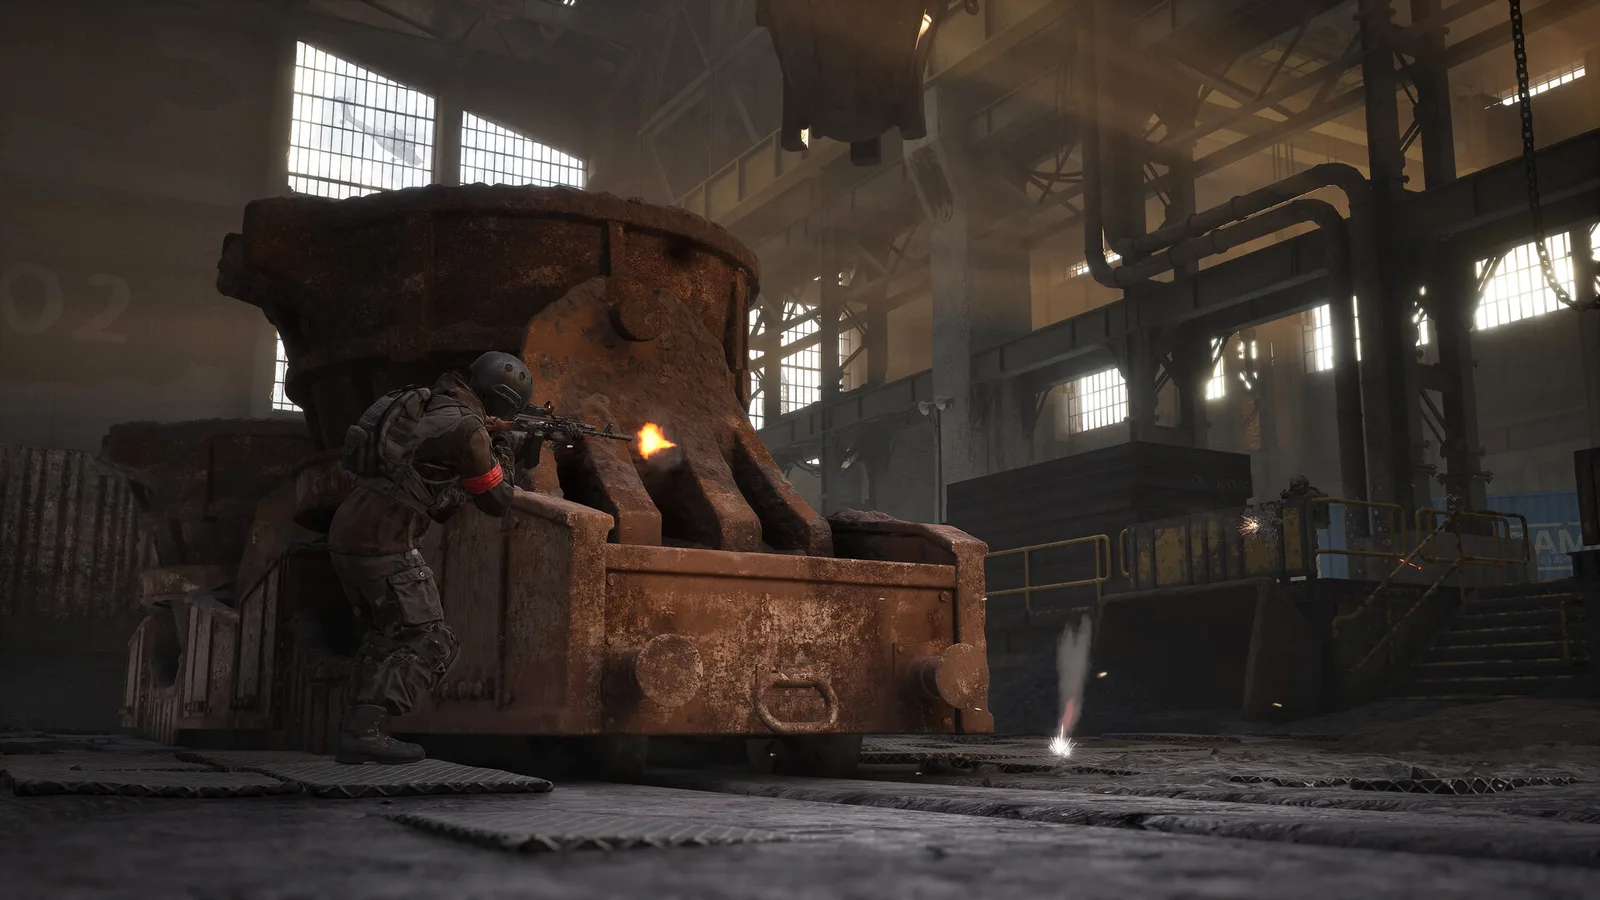

Quick card
- Hammers
- Three sizes; unlocks at level 0, 3 and 12
- First hammers
- Inside a FOB's storage box; FOB costs 7,500, 2x3 slots
- Build faster
- Tap and release on each strike, do not hold
- Wall cost to breach
- Low 2, high 4, concrete 7 explosives
- Door cost to breach
- Single door 1 C4 or a crowbar; vehicle gate 2 C4
- Hedgehog cost to clear
- 6 C4
Three hammers, and where the first one comes from
There are three construction hammers, large, medium and small, and they unlock at levels 0, 3 and 12. The large one builds everything on the list; the other two build a subset. You do not have to wait for the unlock to get your hands on one. A FOB costs 7,500 and takes a 2x3 block of inventory, which early on means the scout backpack is the only bag that carries it. Place it, open its storage box, and a medium and a small hammer are sitting inside. If you cannot afford your own FOB, a teammate's storage box hands out the same hammers. Nothing in the game tells you any of this, which is why so many new engineers are standing in a half-built base wondering why the menu is short.
Fast-tap, do not hold
Holding the mouse button swings the hammer at its own pace. The faster way is to click and release at the exact moment the hammer lands, so the character pulls the hammer straight back and the next click swings again immediately. Done in rhythm it turns the swing into a rapid-fire action. The small and medium hammers already animate quickly, so the large hammer is where the gain is biggest; it is also the one you will be swinging when the walls matter. It takes a few minutes of practice on something cheap before the timing sticks.
Aim at the golden marker
While a structure is going up, a golden marker appears on it. Your hammer's crosshair has to be on that marker to collect the full XP, the full cash and the full build progress per swing; swings that miss it pay less. Until the 30 September update the marker spawned inside a fixed range, so you could park in a corner and farm it standing still. It now moves, and can appear outside the reach of where you are standing, which reads as a deliberate change to make engineers move while they build. Treat it as part of the swing: step, aim, tap.
Three walls and what they cost to breach
There are three wall types and the numbers are the whole argument. A low wall is one tier high and falls to two explosives. A high wall is two tiers and takes four. A concrete wall is three tiers and takes seven. So a low wall on the outside of a base is not a wall, it is a formality. Build concrete for anything you intend to keep. When the position is being contested right now, put high walls up first because they are quicker, then replace them with concrete once the shooting stops. One detail that decides fights: concrete walls have a protruding lip on one face. Build them with the lip facing inward. Lip outward and you have given the attacker a step to climb your own wall with.
Stacking walls higher than they are meant to go
The snapping system lets you build taller than any single wall. Lay a low wall as the baseline, then place a second low wall on top of it and leave it at zero percent. A high wall or a concrete wall will now snap onto that base, and the result is a high wall three tiers tall or a concrete wall four tiers tall, which is a different problem for anyone trying to climb or breach it. The same trick works on a vehicle gate. Build the gate on a stacked base and it comes with a built-in step on the inside: when the gate is breached the step gives your people cover and blocks line of sight straight into the base, attackers have to climb it or spend more explosives clearing it, and your own vehicles still drive through. Drop a few more zero-percent low walls just inside and you have firing steps for the defenders.
Doors: the single door is the hole in your plan
A single-person door dies to one C4, and it does not even need that, because a crowbar pries it open silently. A vehicle gate needs two C4 and cannot be pried. That settles it: every opening to the outside world is a vehicle gate, no exceptions. If you must keep a single door somewhere, a blast wall built over the top of it shields it from artillery, which at least gives it a chance of surviving a shelling it otherwise would not.
The sealed tower: making them pay to remove your eyes
A scout tower placed hard against the wall line, with its base sealed in concrete, is the best value defensive structure in the kit. Sealing the base means the tower cannot be knocked out directly; attackers have to breach the walls around it first and spend the explosives doing it. The upper windows still give the occupant observation and fire in several directions, and a wall built into the window as a step raises the firing position and opens the downward angles. Compare that with a bunker made of sandbags, which goes down fast and takes the person inside it along. Pay for the concrete.
The small-hammer kit: four things you can build anywhere
With building materials in your backpack and the small hammer out, there are four structures you can put down without opening the F menu, anywhere on the map: a scout tent, a Czech hedgehog, barbed wire and sandbags. The scout tent hides you from thermals the way a ghillie suit does. The hedgehog is the one that changes the game. Six C4 to clear, so a line of them on the enemy's supply route forces a choice between spending the explosives and driving the long way round, and either answer costs them. Barbed wire laid in the grass around a base is a trap, and the kills it takes count as support XP. At your own position, hedgehogs and sandbags go at the entrances and barbed wire goes at the top of stairwells. If a nearby rooftop gives a sniper a line onto your base, carry materials up and trap it. If you are the sniper, trap the stairwell behind you and hunt in peace.
Two sandbags in a corner
At any high window or rooftop corner, place two sandbags in the corner so they meet as a triangle. You get a downward firing angle, an observation post, and the bags block part of the return fire while leaving you able to see and shoot. It works at a tower window and it works on any high point on the map; a straight line of sandbags gives you none of the angles for the same materials.
Storage, and what else is worth building
Open a FOB's storage box with F and right-click items to stash them, instead of dragging them one at a time. For the rest of the build list: cross-corridor bunkers and scout towers are the places to be when the shells are falling. A fuel station and a repair station are only worth it if your team is running tanks or Humvees, because aircraft fly back to HQ for repairs. The broadcast tower is for music, nothing else. The radar is the strategic one: feed it 900 fuel and it drags the hot zone toward your position (the towers guide records the drill site reaching the same result at 6000 of 6000 fuel; treat both figures as build-dependent until you see them yourself). Anti-air comes in two parts that need each other, missiles for distant aircraft and turrets for anything low or close that the missiles refuse to lock. One without the other is a gap, and a pilot will find it.
Why this is a Wing Mait note
Every number above is a decision about where to spend somebody's explosives. The engineer who knows them builds a base that costs more to take than it is worth. Wing Mait's job is the other half: calling the chopper bearing, the mortar on the map and the breach point out loud while you are still swinging. Build it hard, then hear it coming.

Related field notes
 WARDOGS10 Sep 2026TowersSee how to capture a tower, use its code and contest the fixed objective, then learn how tower control can pull the Hot Zone toward your team's position.FIELD NOTE 37
 WARDOGS10 Sep 2026The spawn APCLearn the 20 point APC unlock, how parking provides forward respawns, and how repair, smoke and the exposed antenna shape its use and vulnerability.FIELD NOTE 38
 WARDOGS10 Oct 2026Vehicle huntingSwap the Level 4 plate for a Humvee: scout in third person, pick off the loners, loot, relocate. The wrench and free Kodiak route for wipe day.
Sources
Numbers and mechanics on this page are paraphrased from:
Wing Mait is an independent project, not affiliated with or endorsed by WARDOGS or its publisher.