WARDOGS / FIELD NOTES
WARDOGS Stingray tactics: a drone pilot's playbook for hunting spawn vehicles
Goonz Gaming's pilot says he has flown real drones for more than 3,000 hours, and his Stingray video is the most complete set of tactics we have seen: what to pack, where to hide the launcher, when to launch and when to wait, and how to fly a drone that turns slower than a swing bridge. His claim is $5,000 turned into $15,000 every five minutes, with a record of 12 spawn vehicles in one match. We set it beside our existing Stingray guide and our Season 2 building notes.
Quick card
- Per drone
- $5,000 and 900 mechanical supplies
- Launch
- the moment any team hits 20 points, toward the leader's HQ
- Offset
- aim 90 degrees off; it flies about 500 m on its own first
- Battery
- about 4:45 if you never boost or brake
- Arming
- about 4 seconds; arm late, never head-on
- Never
- hit the dish, or fly over enemy HQ
A drone pilot's view of the Stingray
Goonz Gaming is a channel run by Army special operations veterans, and the pilot in this video says he has more than 3,000 hours flying small and large drones. In the real world, he explains, the Stingray is a one-way attack drone, a loitering munition: you find the target, you commit, and the aircraft does not come back. His pitch is that most players see enemy armour and wish it would go away, while a Stingray pilot salivates at it. Season 2 added the Flakpanzer and the T-72, so there are more targets than in Season 1. He says the tactics below turn $5,000 into $15,000 every five minutes, and that his record is 12 spawn vehicles in one match. Those are his numbers, but the live match in the video backs up the method. Our existing Stingray guide covers the controls and the lock. This guide is the next step: the tactics.
The unlock and the bill
To build the Stingray launcher you need two things: the Large Hammer and a FOB. Like the mortar and the SAM, every Stingray kill earns support experience. Each drone costs $5,000 and 900 mechanical supplies. That settles a question our first Stingray guide left open: two sources now describe the two costs separately, the money and the supplies. He is clear that the supplies are the bottleneck. You can run them yourself and hope nobody else at the FOB soaks them up, or have a teammate deliver them. If someone in your squad is levelling pilot or driver, supply runs for you are a fast way for them to do it. His case against the price tag: $5,000 is cheaper and much less risky than buying a kit and parachuting into the hot zone. At the Season 2 menu on 17 October, the launcher itself cost 521 supplies.
The packing list
His advice is not to rely on anybody else unless you are short of cash. At the start of a match he buys: 1. A FOB. It comes with enough building supplies for the launcher and your walls. 2. The Large Hammer. 3. A mediocre kit, enough to deal with a raider who stumbles into your base, which he says is unlikely. 4. A backpack stuffed with mechanical supplies, as many as you can carry. 5. A Ural with two pallets of mechanical supplies. In the live match he puts that loadout at just under 19,000, and by the time the first launch window opens he is only about 1,200 in the hole. If your support level is too low for the Large Hammer, offer a teammate a deal at the start of the match: you buy the FOB, they build the launcher. He says few people turn it down.
The solo drone base
On your own, build in the woods off the beaten path, away from any structures, and as close to the edge of the circle as you can. You can build outside the circle, but you miss the extra money for being inside it and for supply deliveries, and teammates are less likely to bring you supplies. Once you find your spot: place the FOB, unload, and put any spare mechanical supplies you carry into it. Place the launcher as close to the FOB as you can and surround yourself with Bremer walls with no gaps, so nobody can walk up and shoot you while you are flying. Shut the door behind you. A drone base that keeps a low profile rarely draws attention. What gives it away is teammates piggybacking on your FOB, building a town to shoot at helicopters, or firing mortars that tell the whole map where you are.
At a team FOB: the launcher goes in a bunker
If you fly from your team's FOB, protect the launcher from enemy Little Birds and mortars by building it into a bunker. Build a bunker, knock out the two Hescos in the centre and place the launcher inside. Do not put it too deep, because drones do not fare well against ceilings. Encase the rest of the launcher with Hescos. One more rule for either base: do not park your Ural next to the FOB. When you are done with it, send it away. An unused Ural eventually blows up, which can damage your outer walls and, worse, makes a big bang that tells everyone nearby something is going on in your direction.
When to launch, and when to wait
This is where he says most people waste their money. Being able to launch does not mean you should. Before you launch, check the map and the kill feed for two things: spotted enemy armour, or teammates getting wrecked by enemy vehicles. If you see a tank on the map or in the kill feed, send it. If you see neither, wait. While you wait, it depends on the match. If all three teams are trading points and nobody is close to 20, sit tight or make another supply run. If you do not want to drive back to HQ, drop your gear in the FOB, wait out the 30-second respawn, and buy a fresh Ural with mechanical supply pallets. When a team gets close to 20 points, get ready, because spawn vehicles are about to hit the board. The moment the score hits 20, launch and fly straight toward the leading team's HQ; he says you will find a spawn vehicle without fail. His trick for judging how far out it will be is to look at where your own team's spawn vehicle is. Once you have killed one team's spawn vehicle, go after the other team's, and keep juggling the two all game.
Target priority, and the dish
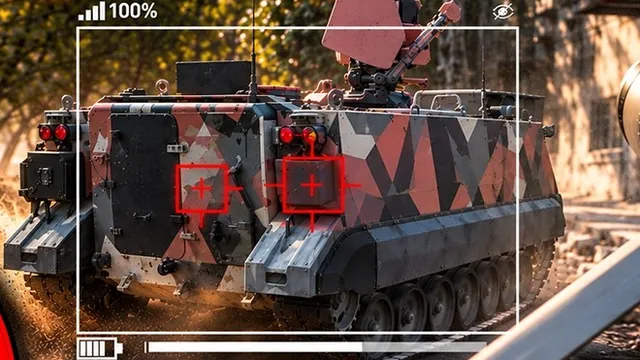
From a solo base, priority one is enemy spawn vehicles. From a team FOB, go after artillery tanks first, then spawn vehicles. Either way, keeping a team from spawning straight into the zone sharply improves your odds of winning. If the battery is running out and you have found no armour, look for an abandoned Ural or helicopter for some cash and XP. If there is nothing at all, use the drone to scout and tell your team where the enemy FOBs are. You earn no money, but in his words, intel is priceless. He repeats one rule more than any other: when you go after a spawn vehicle, do not hit the dish. Hit the dish and you only take out the dish, and the spawn vehicle stays in the fight. Our first Stingray guide makes the same point about the APC's separate radar hitbox.
Flying it: offset, battery, arming
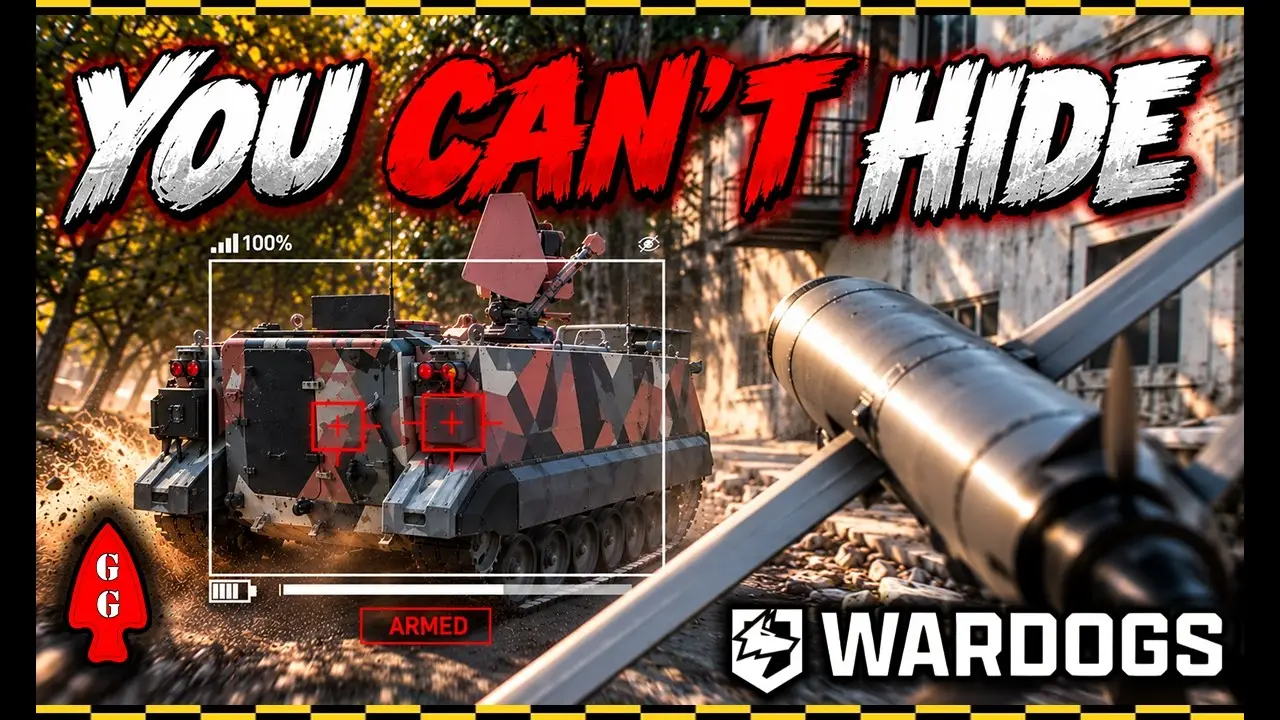
These are the tips he calls the difference between making a few grand and topping the leaderboard. Offset the launch. After launch the Stingray flies roughly 500 metres on its own before you get control. If your target is 400 metres away, you have already flown over it. So aim the launch about 90 degrees off the target's direction: you then need a 90 degree turn instead of 180. The same goes for hunting spawn vehicles on a road. Do not fly straight down it. Fly parallel, off to the side, far enough that when you turn you end up over the road directly behind the vehicle. If you turn too early you end up snaking back and forth and overfly it, so when in doubt, and if you have the battery, fly a little farther out before you turn. Save the battery. Boost and brake both drain it. Fly without them and you get about 4 minutes 45 seconds. He timed a 180 degree turn at about 33 seconds without the brake and 28 with it, which is not worth the battery. The brake is useful for one thing: zooming in, which together with free look makes spawn vehicles much easier to pick out. Climb as you turn. He holds S through turns, because the higher you are, the more you see. Signal strength stays at 100% however far you fly from the launcher. What will kill the drone is flying over the enemy HQ, and that is $5,000 gone. Arm about four seconds out. The Stingray takes about 4 seconds to arm. Arm too early and the driver hears the beeping and dodges; arm too late and you are a harmless bug on their windshield. That matches the advice in our first guide to close the distance first and lock late.
Low, high and direct
He flies three profiles. Low means flying close to the ground, parallel to the surface. Use it on every engagement you can, because if you miss, you can pull out, recover the drone and take another shot. When you are chasing a spawn vehicle, come in low from behind, so you have time to adjust if it turns unexpectedly. He adds a habit he has noticed: most players are right-handed, and when they hear an incoming drone they tend to turn right. In the live match, the driver turns right like clockwork. High and direct are for targets that are not moving and that a low run cannot reach: a spawn vehicle parked inside a walled FOB or hidden in trees. The downside is that you are flying at the ground, so a miss cannot be saved. Whatever the profile, avoid head-on attacks. Depending on the target's speed, the drone may not have time to arm before it hits.
What the live match shows
The second half of the video is a full match on Ozeti, flown in heavy rain from a tree line on the blue side. A few things stand out. Patience pays. He builds while the score sits at blue 4, red 4, green 1, keeps a stock of mechanical supplies (5,600 at one point), and holds off launching until red reaches 20, at one point nearly sending it early and deciding against it. The offset works. His first kill comes with no corrections because the offset distance was right, and the driver turns right as predicted. After two kills he is 8,000 up. Catch them early. He notes that once a spawn vehicle reaches its FOB, the team will put a shelter over it and it is much harder to kill. One spawn vehicle he finds sitting alone outside a base, and he assumes nobody is in it, so the dish matters even more. He also hits a tree and a FOB tower, and laughs at himself both times. Maps matter. He rates drones as great on Zestafona and Ozeti, and weaker on Bakarani, where there are so many buildings for spawn vehicles to hide in. Rain made it hard to see, but also made his base harder to spot.
What he does not know yet
He is open about one gap: the spawn vehicle respawn timer. He has seen it as short as 30 seconds and believes he has seen it as long as 10 minutes, and he wonders whether it depends on whether a team is first, second or third. Reddit and in-game chat have not given him a clear answer. Neither do we. If you know, tell us on Discord and we will add it here. He also asks the developers for two things: being able to ping from the drone, and a way to post a paid supply request to the team, for example 3,600 mechanical supplies for $1,000. Until then, he asks in chat for teammates to spot spawn vehicles for him, and tells them why.
How this fits with what we have written
This section is our view, not his. The Stingray works when it is someone's whole job. In the drill-first FOB guide, Ryan an the world takes a Stingray out to hunt an artillery tank late in a match, and his team gives away 10 points while he is away from the hot zone. Goonz Gaming's approach is the opposite: a dedicated pilot in a quiet base, flying from the edge of the circle, launching on a trigger rather than in a hurry. One of these is a role; the other is a distraction. It is also the counterpart to the APC keep and RadioGLHF's APC garage. Those builds exist to put a roof over the spawn vehicle, and that is exactly why this pilot hunts them on the road, before they reach the circle. If you are the builder, assume someone like him is already in the air. Where Wing Mait fits: it calls out spotted enemy vehicles with bearing and distance from what is on your screen. For a pilot waiting on the kill feed, that is the warning that turns a rushed launch into a planned one.
Step by step
This is our write-up of his method. 1. Buy a FOB, the Large Hammer, a cheap kit, a backpack of mechanical supplies, and a Ural with two pallets of mechanical supplies. 2. Solo: build in woods off the road, near the circle edge, launcher beside the FOB, a gap-free ring of Bremers. At a team FOB: launcher set into a bunker, not too deep, encased in Hescos. 3. Send the Ural away from the FOB. 4. Watch the map and the kill feed. Launch at spotted armour; otherwise wait or run supplies. 5. When any team reaches 20 points, launch toward the leading team's HQ, offset about 90 degrees. 6. Judge the enemy spawn vehicle's position from your own team's. 7. Fly without boost or brake, climb in turns, never fly over enemy HQ. 8. Come in low from behind, arm about four seconds out, never head-on, never the dish. 9. Kill one team's spawn vehicle, then the other's. Out of targets: an abandoned Ural or helicopter, or scout for your team.
Sources and what we are unsure of
Everything here comes from Goonz Gaming's video, published 23 October 2026, on the channel youtube.com/@TheGoonz. We worked from the video's full caption track, not frame by frame. The pilot's background is as he describes it; we have not verified it. The launcher price comes from the Wing Mait team's reading of the Season 2 menu on 17 October 2026. A later patch may have moved it. The captions say Yuro and Euro, which we read as the Ural. The 500 metre auto-flight, the 4:45 battery, the turn times, the 4 second arming, the $15,000 every five minutes and the 12 spawn vehicle record are his measurements and claims, not our tests. At one point the captions say to build your walls off the mortar, not the FOB, because it is wider; we think he means the launcher, but we have not confirmed it, so we have left it out of the steps. If your game shows something different, tell us on Discord and we will fix it.
SOURCE BRIEFING
Source video from Goonz GamingTHIS Tactic Stops Players in Their Tracks in Wardogs
Watch on YouTubePlaying loads YouTube. Choose captions in the player settings. Credit and thanks to the creator.
Related field notes
 WARDOGS3 Nov 2026APC city: build a keep for your APCWhompin's three-floor APC keep: a shelter ringed by recon towers, an Indirect Fire Shelter stair, stacked bunkers and an exit that is never on the ground floor.FIELD NOTE 05
 WARDOGS3 Nov 2026Drill-first FOB: build fast, pull pointsTwo drills, a repair closet between them and one CIWS seat, built before green is halfway to 100. From Ryan an the world's video, priced at the Season 2 menu.FIELD NOTE 06
 WARDOGS25 Oct 2026Season 2 wipe: The Hotzone Ep 1BULKHEAD's podcast on the Season 2 wipe: the Lone Star bonus, the tank snowball, an XP system built as an MVP, Intel in Q2 and three-month seasons, with timestamps.
Sources
Numbers and mechanics on this page are paraphrased from:
Wing Mait is an independent project, not affiliated with or endorsed by WARDOGS or its publisher.