WARDOGS / FIELD NOTES
Vehicle hunting: armour you can drive, and why Season 2 makes it the smart buy
Armour is the single most expensive thing most of us buy, it covers a chest rather than a body, and Season 2 makes it both weaker and dearer. A vehicle covers everything, sees over walls and earns Driver XP while it does. This guide pulls together Goonz Gaming's vehicle hunting playbook and everything our earlier vehicle guides already established, then checks the lot against the Season 2 patch notes preview.
Quick card
- Core idea
- a vehicle is armour you can drive
- Real weapon
- the third-person driver camera
- Targets
- loners, snipers and flankers; never the stacked building
- Budget route
- a wrench and the free Kodiak at HQ
- Humvee
- grille hit takes about half its health; two rockets finish it
- Season 2
- Level 4 armour 65 to 60 percent; armoured vehicles dearer; wipe on 15 October
What are you actually paying for?
Look at a starter loadout honestly. Our weapons guide built one around a $2,000 Level 3 vest and a $200 helmet, which is $2,200 of a $3,600 loadout, and Level 4 costs more again. What it buys is a plate over your torso, and the player lying in a bush aims at your head. Goonz Gaming's answer is to stop buying the plate and drive the protection instead: a steel box around the whole body rather than a vest around the chest, at a fraction of the price. It is not a new idea, armies have been making it since 1916, but it is a strangely underused one in a game where most of us still dress for a fight we could have arrived at in a truck. Season 2 tilts the maths further. The patch notes preview cuts Level 4 armour from 65 to 60 percent, raises heavy and super heavy armour and helmets (the super heavy helmet goes from 3,000 to 4,500), and the season opens with a wipe on 15 October, so nobody starts rich. Armoured vehicles go up as well, by figures not yet published, so rerun this comparison on day one rather than taking it on faith. Cheaper, and it covers more. That's the argument.
Why the camera matters more than the steel
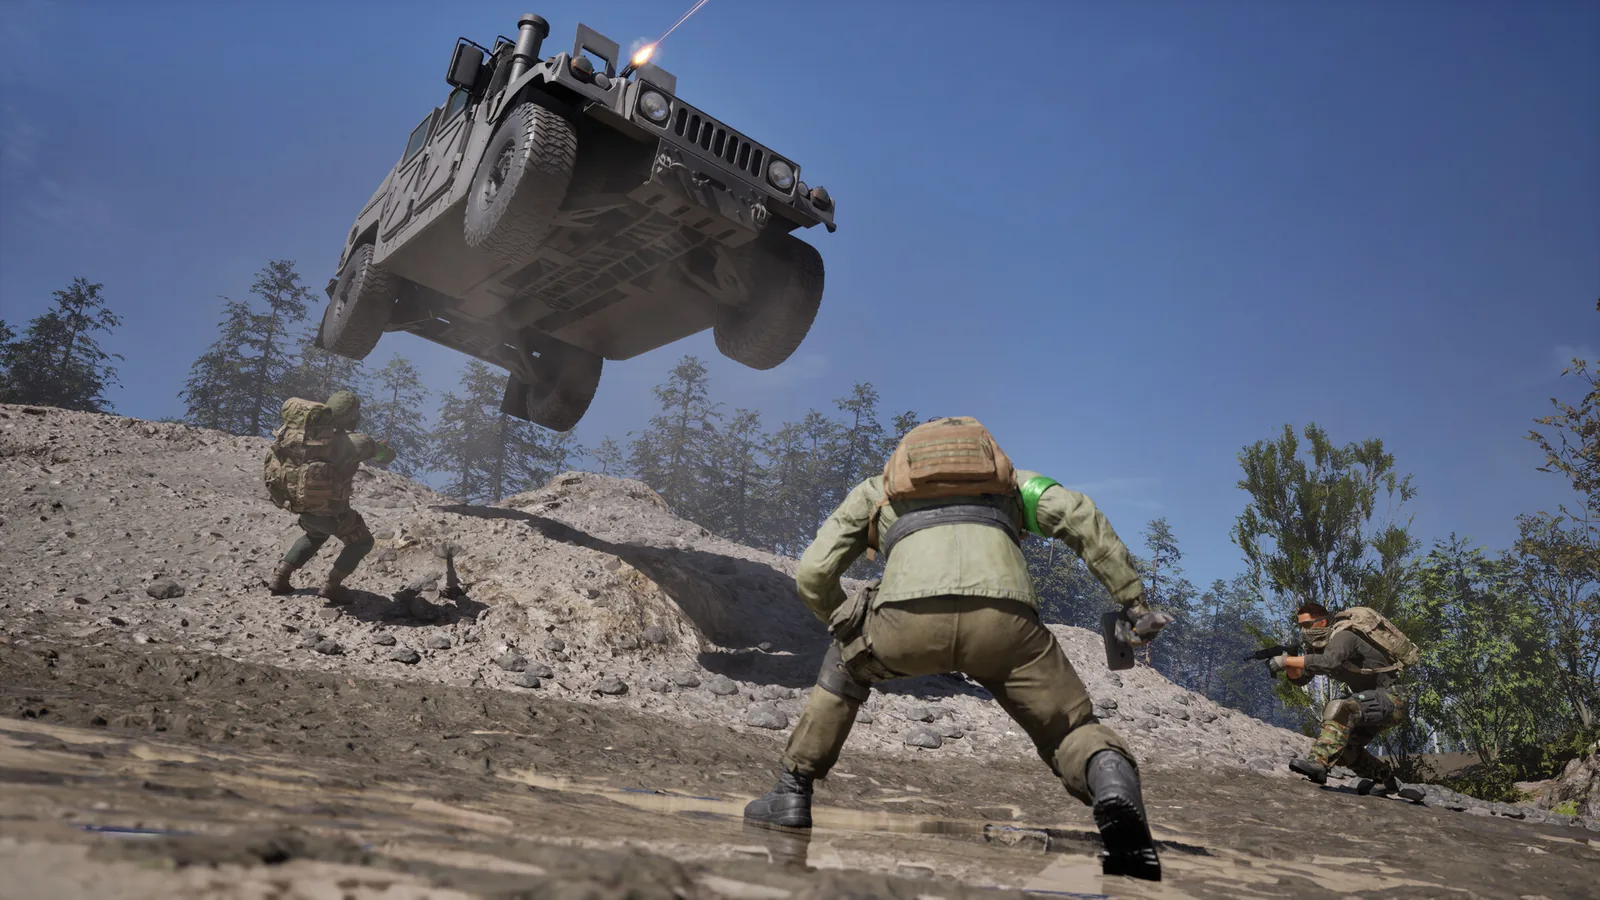
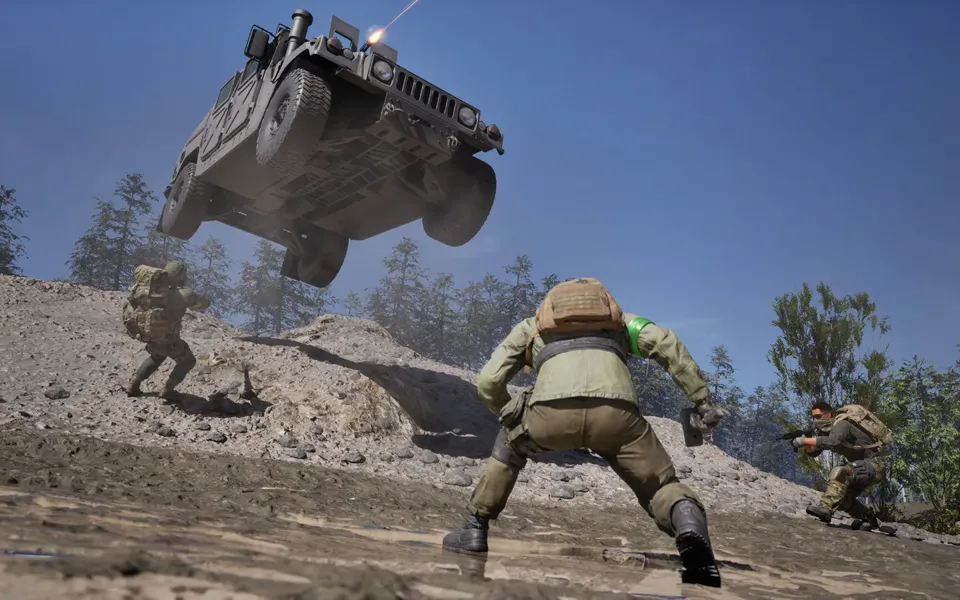
From the driver seat the camera sits behind and above the vehicle, which means you see over walls, round corners and into the hedge line a player on foot believes is safe. Our spawn APC guide already uses the same trick to check a drop zone before a squad climbs out, and our common mistakes guide notes that the respawn vehicle gives whoever is inside it something close to full map vision. The Humvee is simply the cheaper, faster version of that information. That is the real advantage, and it is an advantage of knowledge before it is one of protection: you see the sniper before he sees you, and you decide whether there is a fight at all. Most of what follows is about using that choice well.
Who do you hunt?
The first rule is the one that keeps you alive. If six players are stacked on a building, keep driving; as Goonz puts it, "That's not a target. That's a funeral with a parking lot." The targets worth the fuel are the players who have separated from their team, i.e. the sniper on a ridge, the flanker on a long rotation, the lone looter working a compound. Kill someone with no squad nearby and nobody comes back for the body, which means you loot a full kit without having to win a second fight for it. Pick the isolated, and the vehicle does the rest.
The wrench route and the guerrilla route
The budget route costs next to nothing. Bring a wrench, take the free Kodiak pickup that spawns at HQ, find a lone player, introduce him to the front bumper, and take his kit. You go in with a wrench and come out with a loadout, which (cynically speaking) is the best return on investment in the game. On the opening days of Season 2, with every account back at zero, it is also the cheapest way to rebuild a bank. Our kit guide makes the related point that a trunk carries weight your character never feels, so fuel, ammunition and medical spares ride in the vehicle rather than dragging you down a weight class. The guerrilla route is for levelling a class. Bring the loadout you are working on (Goonz runs a shotgun out of a Humvee), use the vehicle to reach an angle nobody expects, take the fight on your terms, and leave. The vehicle is your cover and your repositioning; the gun is still what earns the class XP. Both routes feed the Driver track on the side. Our driving class guide follows OneAverageDan from the Kodiak to the URAL, which he puts at 5,000 once unlocked, and he reports reaching the Humvee within two or three matches of logistics runs. Those are one player's figures for the pre-Season 2 build, and Season 2 reshuffles unlock levels, so treat them as a direction rather than a timetable.
Kit and inventory → Driving class → XP tracks → Money farming →
Shoot, then move
Every engagement in the footage follows the same loop: spot from third person, roll to a better angle, engage, and relocate before the enemy works out where the shots came from. A parked vehicle is a landmark everyone on the map can see and hear. A moving one is a problem they have to solve while you are already at the next spot. Never stay long enough to be found.
What kills a Humvee
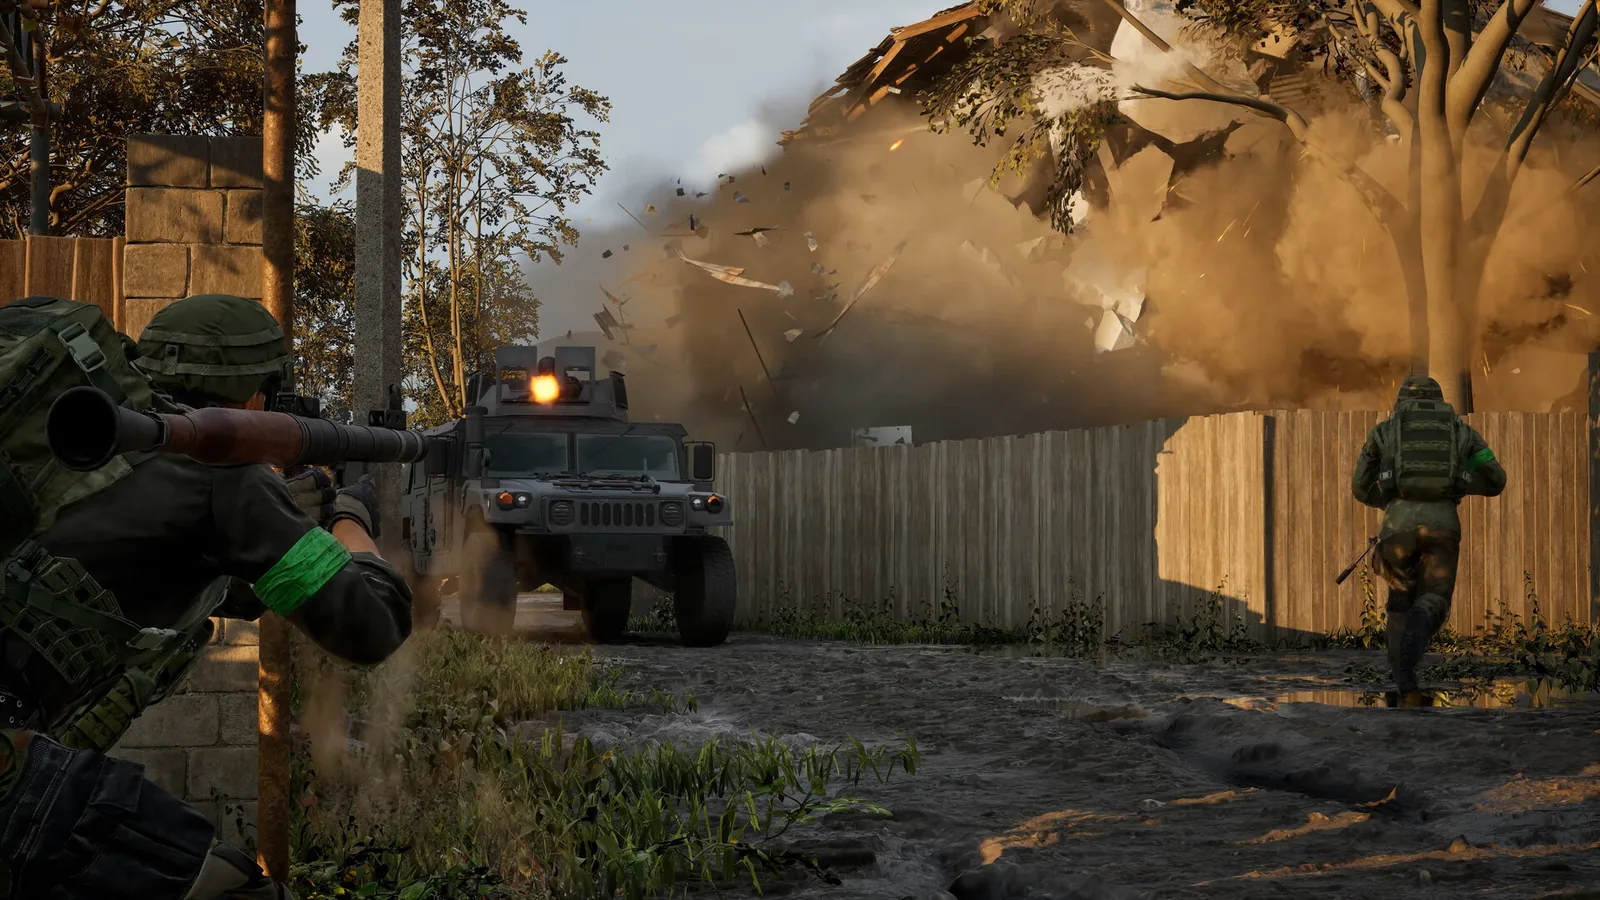
A vehicle is not invincible, it simply fails differently, and our weak spots guide already has the numbers. The Kodiak and the buggies are soft: almost any single RPG hit drops them, and the only thing that soaks damage is a tyre, which a shotgun deflates in a shell or two. The Humvee is tougher but not by as much as it looks: a rocket in the grille takes roughly half its health, the sides about 40 percent, so two rockets from the front or side usually finish it, and the rear is the angle that hurts least. Keep the tail towards the likeliest launcher, and treat any player carrying one as either the first target or the one you leave alone, nothing in between. Above rockets sits the Stingray. Our Stingray guide records a properly locked drone killing an armoured Humvee in one hit, and the target can hear the lock tone, so if you hear it, move and keep moving. Terrain is the other killer: a hedgehog ring or a choke point turns a moving target into a stationary one, which is exactly what the defensive builds in our castle guide are designed to do. Hunt in open ground and stay away from somebody else's perimeter.
Vehicle weak spots → Stingray → Castle without borders → Flares and missiles →
Keeping it running
The wrench is the most important thing in your bag; our APC guide says the same about the spawn vehicle, and it holds for anything with wheels. A damaged vehicle drives worse and dies faster, so repair between hunts rather than during them. OneAverageDan notes that buying supplies inside a compound also refuels and repairs the vehicle, and our combat engineer guide reckons a FOB fuel station and repair station are only worth building if the team is running tanks or Humvees. If your squad takes to this play style, that is the moment to ask for them.
What does Season 2 change for vehicle players?
The patch notes preview is a creator's read of upcoming notes, so verify all of it on 15 October. As read, the season adds the Wolf 110 light transport and an assault variant carrying a mounted M2 Browning, a T-72 that is cheaper and more fuel efficient than the Leopard but slower, and the Flakpanzer Gepard for anti-air, with the Driver track unlocking them from level 8 (the Wolf 110) to level 25 (the Gepard). Handling changes too: Humvee suspension, acceleration and climbing are adjusted, tracked vehicles feel heavier, and dune buggies brake less and drift more. A purchased vehicle's inventory becomes private to the driver and squad by default, which makes a vehicle you bought a safer place to stash looted kit than it used to be. Explosives and placeables can no longer be used from enclosed seats, and collisions, gunner desync and the tank launch bug are fixed. On price, the Leopard goes from 14,000 to 22,000 and the Havoc from 18,000 to 28,000. The Wolf 110 assault variant is the obvious Season 2 candidate for the guerrilla route: light, quick, and carrying its own heavy gun. We will update this guide once our team has driven it.
SOURCE BRIEFING
Source video from Goonz GamingTHIS Tactic Lets You Hunt Players and Make MONEY in Wardogs
Watch on YouTubePlaying loads YouTube. Choose captions in the player settings. Credit and thanks to the creator.
Related field notes
 WARDOGS10 Sep 2026Helicopter flightPractice helicopter controls in a staged range drill: separate climb, yaw and tilt, build stable takeoffs, then review risks and ways aircraft get shot down.FIELD NOTE 40
 WARDOGS10 Sep 2026Mortar fire missionsSet mortar and target points from the tactical map with a click or touch gesture, review the solved mission, and learn where the panel needs operator judgment.FIELD NOTE 41
 WARDOGS10 Sep 2026Common mistakesFix common early mistakes with keybinds, weight class, medic supplies, leaning and FOB spacing, then review how APC placement changes team respawn options.
Sources
Numbers and mechanics on this page are paraphrased from:
- Goonz Gaming: THIS Tactic Lets You Hunt Players and Make MONEY in Wardogs (2026-10-09)
- BigfryTV: EVERYTHING You NEED to Know about WARDOGS Season 2 (2026-10-09)
- OneAverageDan: How to Level Up Driving Class Fast in Wardogs AND Help Your Team (2026-10-05)
Wing Mait is an independent project, not affiliated with or endorsed by WARDOGS or its publisher.