MW4 DMZ / FIELD NOTES
MW4 DMZ solo compound loot farm: MrDalekJD's seven stops from Delta to Foxtrot
MrDalekJD says a solo run through the compounds on Hajin can pay 100 to 200 grand in 15 to 20 minutes. His video is embedded just below, so please watch it. This page is the organised companion: the order he drove, what he found in each safe, how he scouts a compound before he commits, where his run differs from our farming guide, and where we have put every stop on our Hajin map. The numbers are his, from one run, and we have not tested any of it.
Quick card
- Source
- MrDalekJD, one solo run
- Mission
- Operation Fallen Ember, queued for the best spawn
- Route
- Delta, Echo, Bravo, Alpha, Cheonwang Peak Array, Charlie, Foxtrot, then a helicopter
- His claim
- 100 to 200 grand in 15 to 20 minutes; his figure from one run, untested by us
- On our map
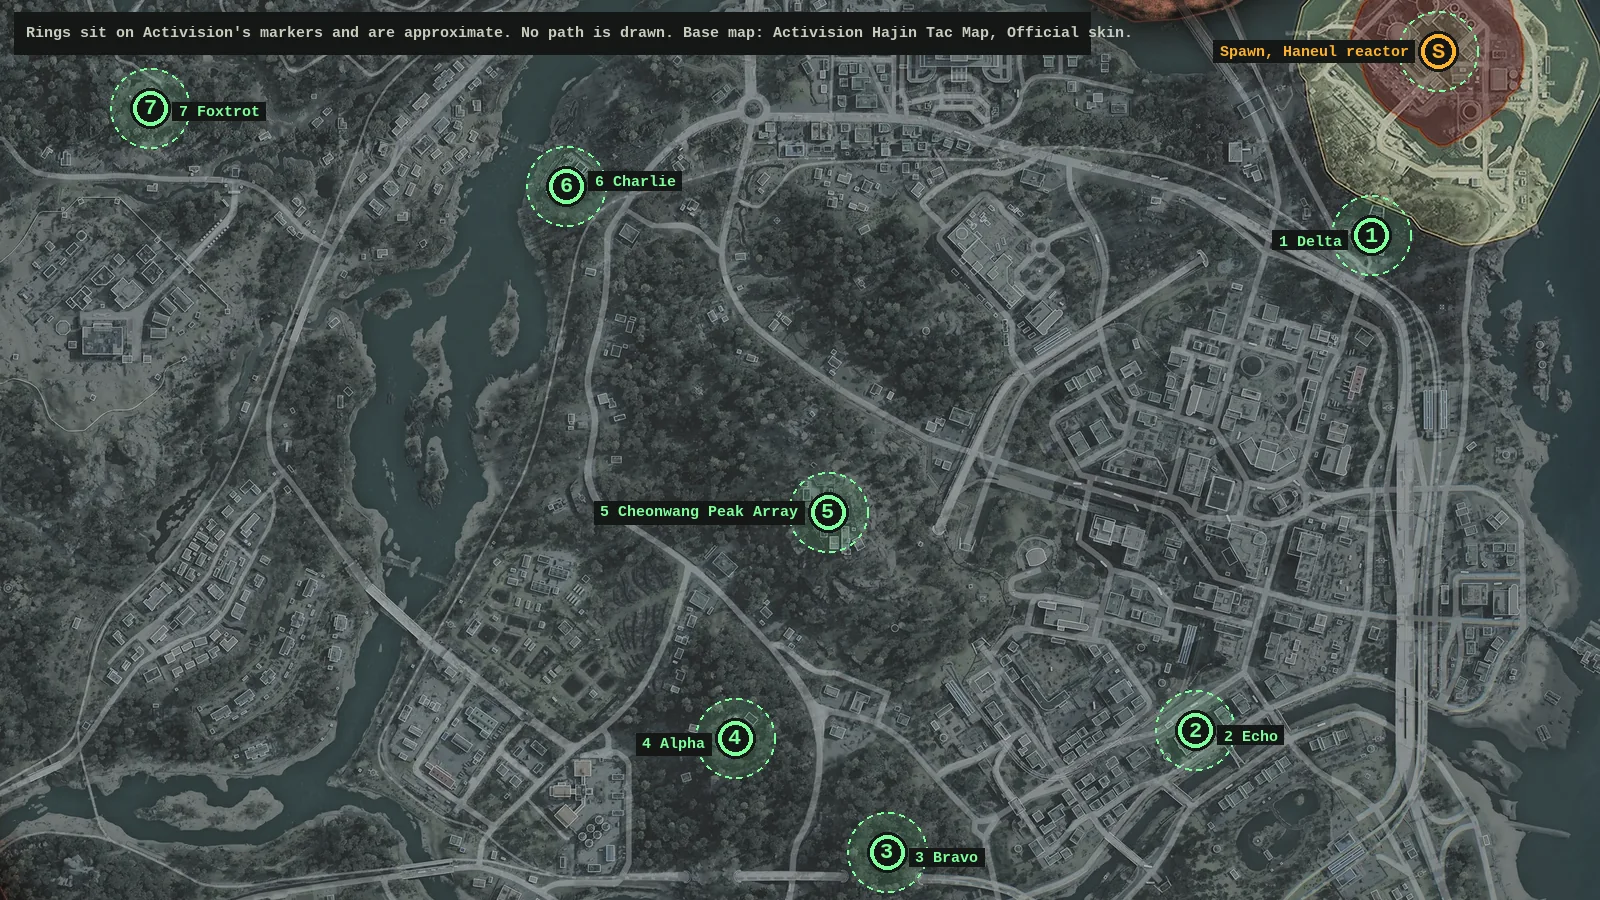
- Seven stops and a spawn point as a route, area only
The short version
MrDalekJD's idea is simple. Queue the Operation Fallen Ember story mission for a spawn beside the Haneul nuclear reactor, then drive an armored LTV from compound to compound and open the safe at each one. He says he is "hitting every single possible safe inside of DMZ" (0:40). In this run that was Delta, Echo, Bravo, Alpha, Cheonwang Peak Array, Charlie and Foxtrot, in that order, then a helicopter out. His title says $150k in 15 minutes, he says "nearly $200,000 in as little as 15 minutes" at the start, and at the end "between 100 to 200 grand within 15 to 20 minutes" (20:18). Those are his figures from one run. His extraction screen (19:52) reads a loadout value of $161,800 for the backpack. We have not run the route, so treat the money as his report, not ours.
Watch MrDalekJD's full video on YouTube → MrDalekJD on YouTube →
Before you drop
He plays solo and loads into Operation Fallen Ember "for the best spawn point" (0:33 to 0:38). The mission on screen reads Unlock Reactor #1. He spawns right in front of the nuclear reactor entrance with the first compound in front of him (0:50 to 1:00). He says the best thing about compounds is that there is an LTV at every one (1:53), so there is no reason to walk between them. He also reads each compound's clear percentage before he walks in, which we cover under Scouting before you commit. He warns that gunfire from the AI can reveal you to other squads.
The route at a glance
Times are video times. The compound names are the location names on his HUD, which gives the order without guessing. The safe column is what he found in his run, in his words or from the item card. It is a single run, and safes vary.
| Stop | Compound | Time | What he did | In the safe, as he found it |
|---|---|---|---|---|
| 1 | Compound Delta | 0:48-1:55 | Cleared the AI and looted the compound. | Nuclear Program Files (item card 1:41). He says a safe is "not always guaranteed" here. |
| 2 | Compound Echo | 2:05-3:05 | Did not clear it. Went straight for the safe underground in the parking lot. | Infantry Invasion Plans (item card 2:50). |
| 3 | Compound Bravo | 3:09-6:10 | Up the mountain, past barbed wire. Small, little AI. | No safe found. Other finds: an Encrypted Archive, a riot shield and a recipe he had not seen. |
| 4 | Compound Alpha | 6:15-8:10 | Climbed the barbed wire, looted a Type 73 rifle case, a Basic Weapons Locker and a Bomb Glider recipe. | Nuclear Program Files, cash, Smelling Salts and a WMD Manifest (7:03). |
| 5 | Cheonwang Peak Array | 8:00-11:30 | Three buildings, more enemies, a lot of servers. | A Medium Weapon Backpack Blueprint (9:23), a gold skull (10:48) and a third safe that was "definitely not as exciting". |
| 6 | Compound Charlie | 12:10-14:10 | Top left of the map. AI snipers. His first down of the run. | "Absolute trash. Nothing good at all." (14:03). An ISO Nightshade from a locker (13:33). |
| 7 | Compound Foxtrot | 14:20-18:00 | 0% clear on arrival; one of the smallest. Underground section, then upstairs. | Another gold skull and a recipe (17:13), plus a Combat Drone recipe card (17:20). |
| Exit | North Korean Wilderness | 19:10 | A helicopter exfil. | Backpack loadout value $161,800 on the extraction screen (19:52). |
Stops 1 and 2: Delta and Echo
Delta is the compound in front of the reactor. He clears the AI, says he does not always find a safe here but there is a lot of loot, and gets the first safe at 1:21 with Nuclear Program Files inside. He mentions straying shots that can show other players where he is. Echo, in River Heights, is the one he calls very popular and a bit of a hot spot, with a way into apartments A and B. He does not clear it. He goes for the safe underground in the parking lot (the sign reads Compound Echo, threat Medium at 2:40) and leaves quickly with Infantry Invasion Plans, which he says come with "nuclear degraded footage". Our secret loot rooms guide covers the apartment blocks at Echo.
Stops 3 and 4: Bravo and Alpha
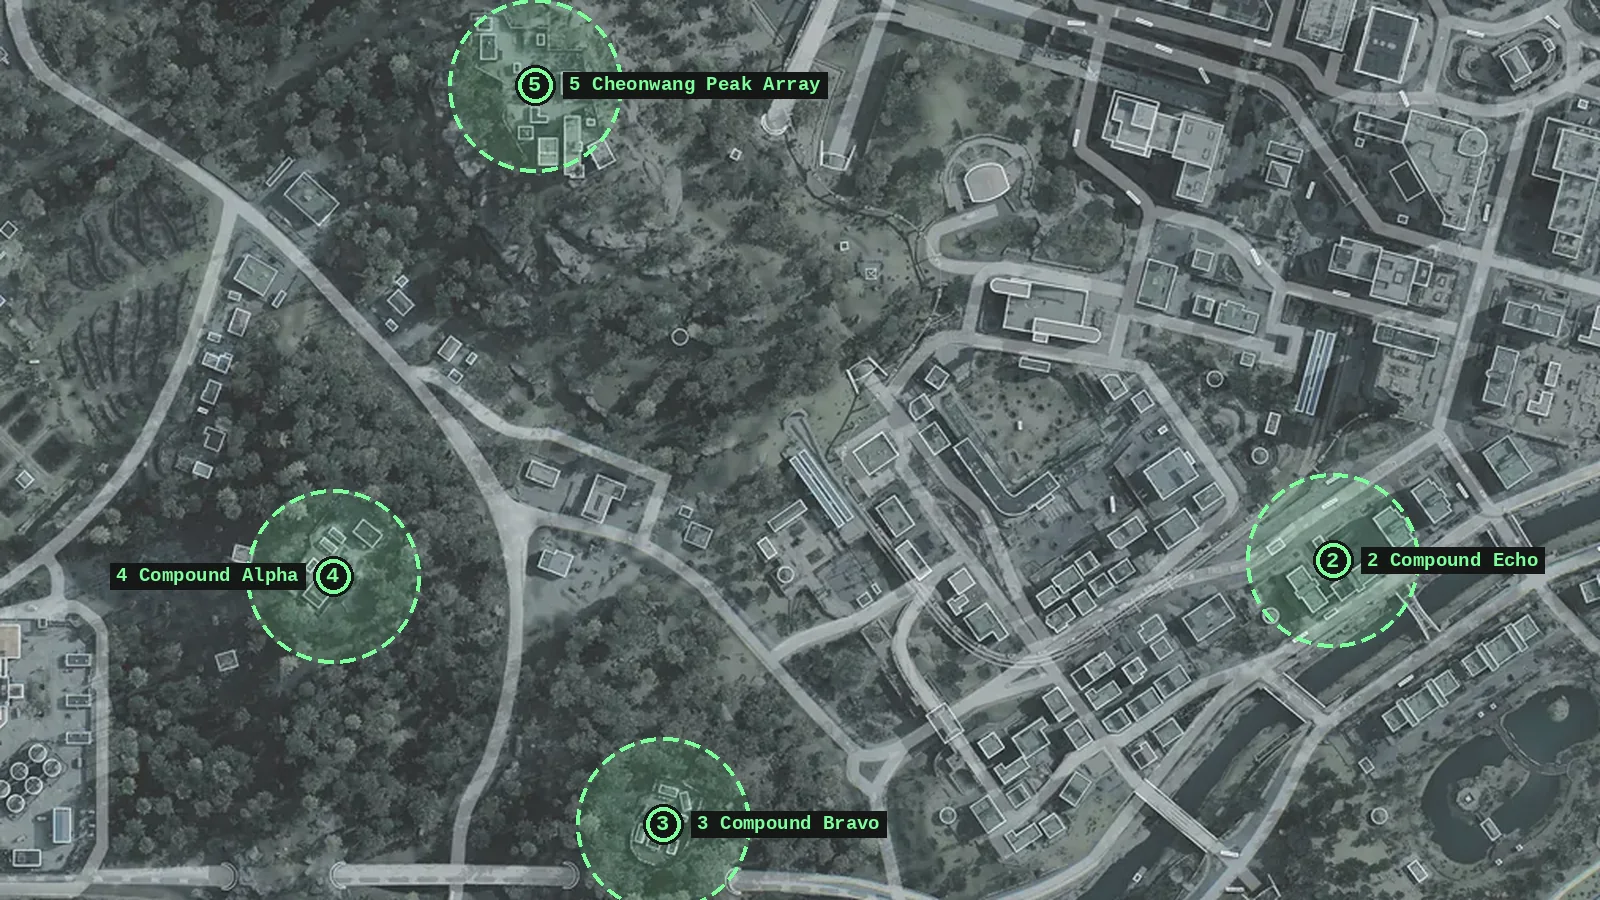
Bravo is up the mountain, so he sneaks in over the barbed wire. It is small with little AI, "very very easy". The safe is normally in a tent rather than a container, he says, but he does not find one, and notes that almost every compound he has visited has had one. He picks up an Encrypted Archive, a riot shield, a medium backpack he leaves behind and Reactive Materials, and mentions another compound nearby that he missed. Alpha is next. He climbs the wire again, takes a Type 73 rifle case, a Basic Weapons Locker with an Axion, a Bomb Glider recipe and High-Tenacity Fibers, then opens the safe at 7:03 for Nuclear Program Files, cash, Smelling Salts and a WMD Manifest. He calls that good loot and takes a new vehicle on.
Stop 5: Cheonwang Peak Array
He calls Peak Array "compound times three" and says it has a lot more enemies but is definitely worth it. A Lieutenant is unlikely, he says, because he has not paid for intel or climbed a hunt tower. The perimeter is fortified; he parkours in through a hole in the wall. There are three buildings, taken in this order. First the huge building, with a safe on the fourth floor and all of the servers on the second floor for rare electrical items. Its safe gave a Medium Weapon Backpack Blueprint (9:23). Second the L-shaped building, which he calls one of the best rooms in the game for electrical items, with Power Regulators and many servers. He says to reach the second floor by the stairs from the back. Its safe gave a gold skull (10:48). Third the building with the UAV tower, a weapons locker with a shotgun and a safe he did not rate (11:15). He leaves in an Aston Martin Dreadnought, opening the gate from the side. Our farming guide has a separate Peak Array route from Schlayer.
Stops 6 and 7: Charlie and Foxtrot
Charlie is at the top left of the map, where AI snipers put him down for the first time in the run. A Basic Weapons Locker gives an ISO Nightshade, but the safe in the big building is, in his words, "absolute trash". Foxtrot, the last compound, shows 0% clear when he arrives and is one of the smallest. He checks a duffel and a computer, goes underground to a tool chest with Alloyed Plating, then a Basic Weapons Locker with Structural Alloy and a Care Package, and finds Ballistic Flight Logs and a Combat Drone recipe card (17:20). The safe upstairs (17:13) has another gold skull and a recipe. He says the prison might have been a better exfil choice but that it is risky (auto-caption wording).
Leaving, and what he keeps
He extracts by helicopter in the North Korean Wilderness (the HUD at 19:10), a moment before a scare, and says they could have looted the rice mill as well (19:44). That wilderness is a named area with no marker of its own on Activision's map, so we have not pinned the exfil. On the loot he keeps the gold skulls, because he needs them for a recipe later. If you want cash only, or want to bring a missing operator back, he says to sell them. His extraction screen also lists 40 valuable items, 10 printer ingredients, 213 printer resources, 4 recipes and rarity counts of 8 Epic, 3 Legendary and 2 Ultra. That is his one run.
Scouting before you commit
Two of his habits are worth copying even if the money is not. First, he checks the compound's clear percentage before he walks in (15:15 to 15:40): 0% means nobody has shot the AI, and a number that climbs as he approaches means other players are inside. Second, he decides per compound how much to fight. He clears Delta and Alpha enough to loot, skips clearing Echo and goes for the safe, and walks away from Bravo when the safe does not show. That is a looser approach than a full clear. Our farming guide describes the full clear, with its percentage bar and the $500 payout, and the two ideas fit together: the bar is both a goal and, in his hands, a warning light.
Where this differs from our farming guide
Our 3D printer farming guide, built from community lists and Schlayer's run, and MrDalekJD's run do not always agree. We show both and do not pick a winner. A single run proves little either way.
| Question | Our farming guide | MrDalekJD |
|---|---|---|
| Do you clear a compound? | Kill everyone inside, about ten people, until the bar reads 100%. Schlayer says each compound has a dedicated safe, so you may not need to fight. | Clears Delta and Alpha enough to loot, skips clearing Echo and goes for the safe. |
| Is there a safe in every compound? | Schlayer says each compound has one. | Not always at Delta, and none found at Bravo, though he says almost every compound he has visited has one. |
| What is in the safes? | Community lists: Alpha a toolbox with a Stock Rod, Bravo a safe with Regional Combat Notes, Charlie and Delta Infantry Invasion Plans. | Delta Nuclear Program Files, Echo Infantry Invasion Plans, Alpha a WMD Manifest, Foxtrot a gold skull. Charlie nothing good. |
| Which compounds? | Six lettered compounds plus North Mirae Compound, which only community lists show. | Six lettered compounds plus Cheonwang Peak Array. He never visits North Mirae. |
| Cheonwang Peak Array | Schlayer: three safes, the first in the first room entered from the back. | Three safes too, but taken big building first, then the L building, then the UAV tower building. |
On the map
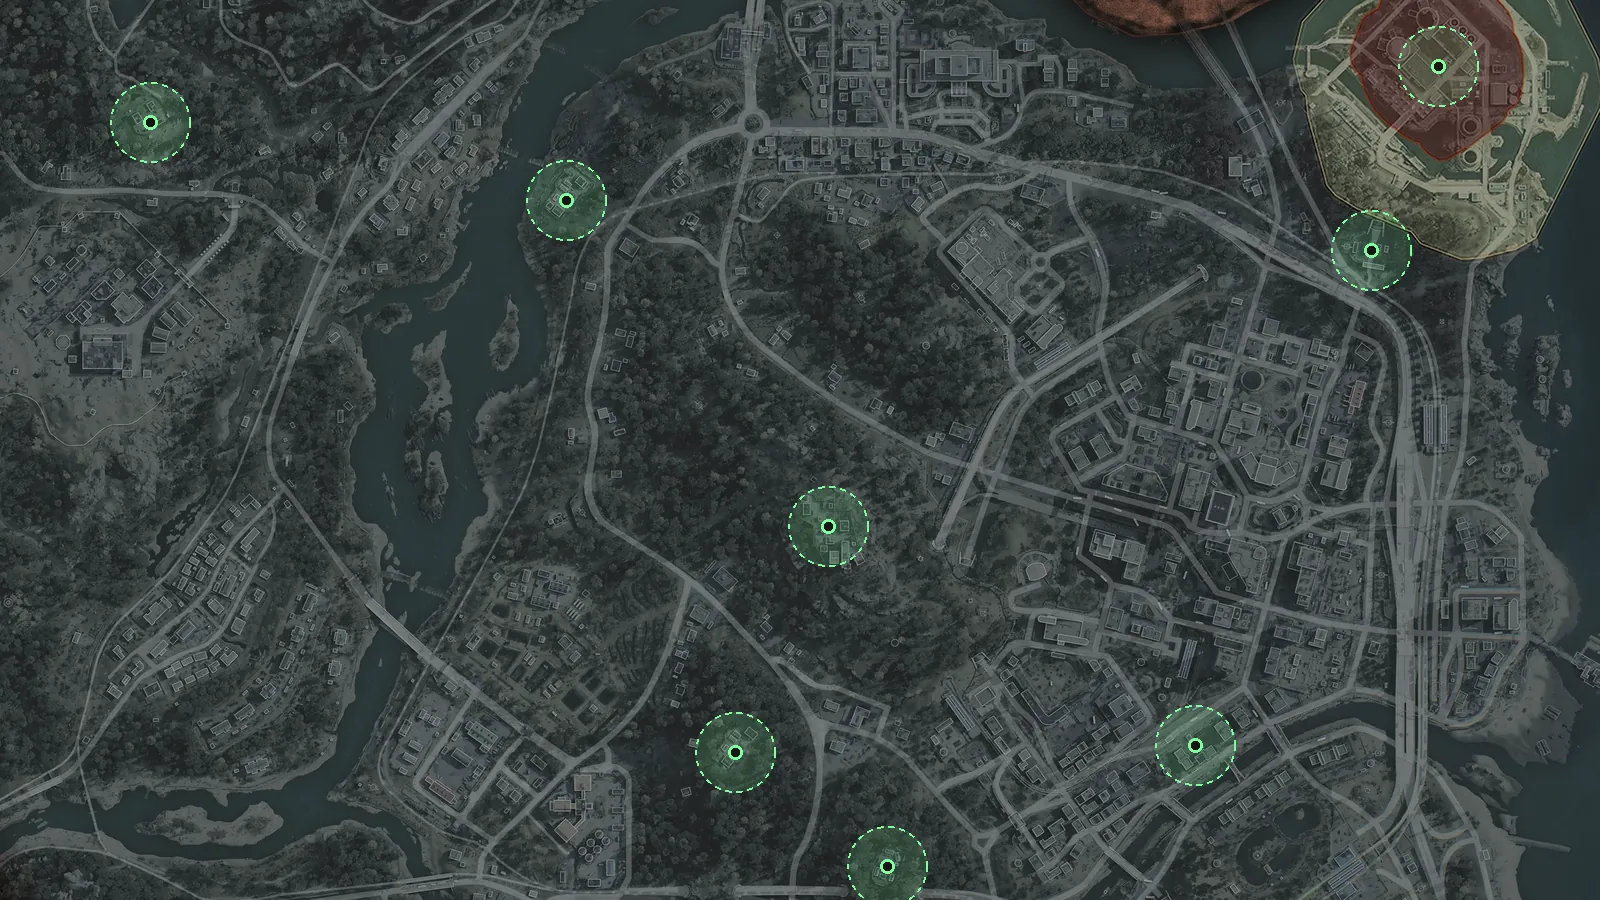
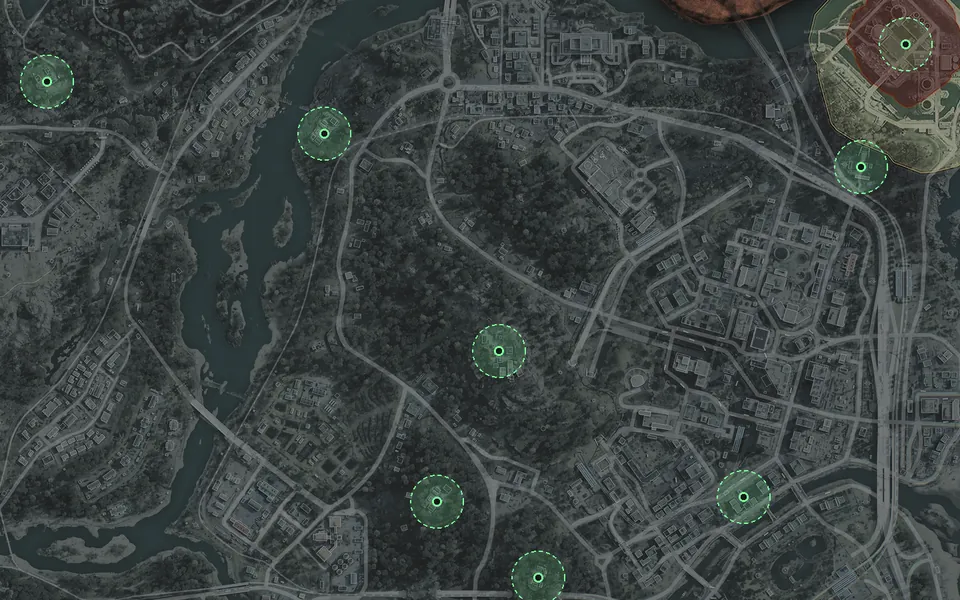
The Routes list on the Hajin map now has Solo compound loot farm, an eight-step route from the spawn near the reactor through every compound in his order, with step cards that open this page at the right section. The exfil in the North Korean Wilderness is not on it. Every stop is area only. Compound pins are Activision's own compound markers, and the Peak Array stop uses the official Cheonwang Peak Array marker. The spawn point is placed at the Haneul Nuclear Reactor marker from his words, "right in front of the nuclear reactor entrance", so it is where we think he stood, not where he was. No path is drawn because he chose his own roads and his footage does not define them.
Open the compound route on the Hajin map → Hajin map: 13 POIs → Re-Education Center loot route → Loot routes: every route on one map → Bank vaults and safe loot run → Solo compound to train loot route →
What we checked, and where Wing Mait fits
We have not played this route. The money, the 15 to 20 minute claim, "a ton of FOB loot" at Delta and what each safe held are what MrDalekJD reported in one run. The order comes from his compound HUD, and item names come from his item cards, with a few auto-captions we marked. Patches can change any of this, and a sister Iron Citadel run on our site was patched on 25 October 2026. Everything here is on-screen text: the compound names, the clear percentage, the item cards and the extraction screen. Reading that text is what Wing Mait does, so a callout can tell you what a safe gave you without you looking away. DMZ support is in development, and Wing Mait doesn't read game memory, inject anything or send inputs to the game.
Questions people ask
Quick answers about the solo compound loot farm, from MrDalekJD's video.
How much does the compound loot farm pay?
MrDalekJD says 100 to 200 grand in 15 to 20 minutes, and his extraction screen shows a backpack loadout value of $161,800. That is one run of his and we have not tested it.
Which mission do you queue?
Operation Fallen Ember. He queues it for the best spawn point, in front of the nuclear reactor entrance.
In what order does he visit the compounds?
Delta, Echo, Bravo, Alpha, Cheonwang Peak Array, Charlie and Foxtrot, then a helicopter exfil in the North Korean Wilderness.
Does every compound have a safe?
Not in his run. He found no safe at Bravo, and says one is not always guaranteed at Delta, though he has found one at almost every compound he has visited.
How do you tell if a compound is already taken?
Check the clear percentage on the compound HUD. At 0% nobody has shot the AI, above 0% someone has been in, and a number that rises as you approach means real players are there.
Is the route on the Hajin map?
Yes. It is on the Routes list as an area-only route with eight steps. We did not draw a path between the compounds.
Source briefing
Run: MrDalekJD, "The ULTIMATE Solo Loot Farm in MW4 DMZ - $150k in 15 MINUTES!" (YouTube, 25 October 2026), 20 minutes 46 seconds. Timestamps, compound order and map points are our own reading of the video, and we repeat his claims as his. Cross-checks: our 3D printer farming guide for the compounds table, and Activision's Hajin Tac Map for the official compound, reactor and Peak Array markers. All prose is our own and no creator footage is reproduced here. Please watch his video and visit his channel.
Watch MrDalekJD's full video on YouTube → MrDalekJD on YouTube →
SOURCE BRIEFING
Source video from MrDalekJDThe ULTIMATE Solo Loot Farm in MW4 DMZ - $150k in 15 MINUTES!
Watch on YouTubePlaying loads YouTube. Choose captions in the player settings. Credit and thanks to the creator.
Related field notes
 MW4 DMZ26 Oct 2026How to kill the Tank soloHow to kill the MW4 DMZ Tank solo, from TheSpazo's run: the Impact Warhead, the Construction Zone fight east of The Grid, the wreck loot and what we could not confirm, pinned on our Hajin map.FIELD NOTE 17
 MW4 DMZ26 Oct 2026MW4 DMZ 37 tips from StoneMountain64StoneMountain64's 37 MW4 DMZ tips with time stamps, grouped into eight themes and marked Confirmed, Untested or Conflicts against IceManIsaac and our other guides.FIELD NOTE 18
 MW4 DMZ25 Oct 2026Roze's key armory, tested 5 timesShirasu's five-run test of Roze's key on Hajin: the Nenshin Tech Complex armory in The Grid, a gold THE KRAKEN each run, one red-weapon run and one weapon manual.
Sources
Numbers and mechanics on this page are paraphrased from:
Wing Mait is an independent project, not affiliated with or endorsed by Activision. Wing Mait for MW4 DMZ is in development and has not been released.