MW4 DMZ / FIELD NOTES
MW4 DMZ traits explained: the trait system, every trait and what to take first, from McBread's video
McBread's 8-minute video, MW4 DMZ Best Traits: Which to Take First, is a clear walk through the Modern Warfare 4 DMZ trait system: three trees, 18 points per operator and a few choices that cost real DMZ Cash if you get them wrong. Watch it first: his video is the source, embedded just below. This page is the organised companion. We explain how the DMZ trait system works, list every trait he names in one table, and sort his picks by how you play (solo, squad, looting or fighting). Where something is his own reading, we say so and mark it Unconfirmed.
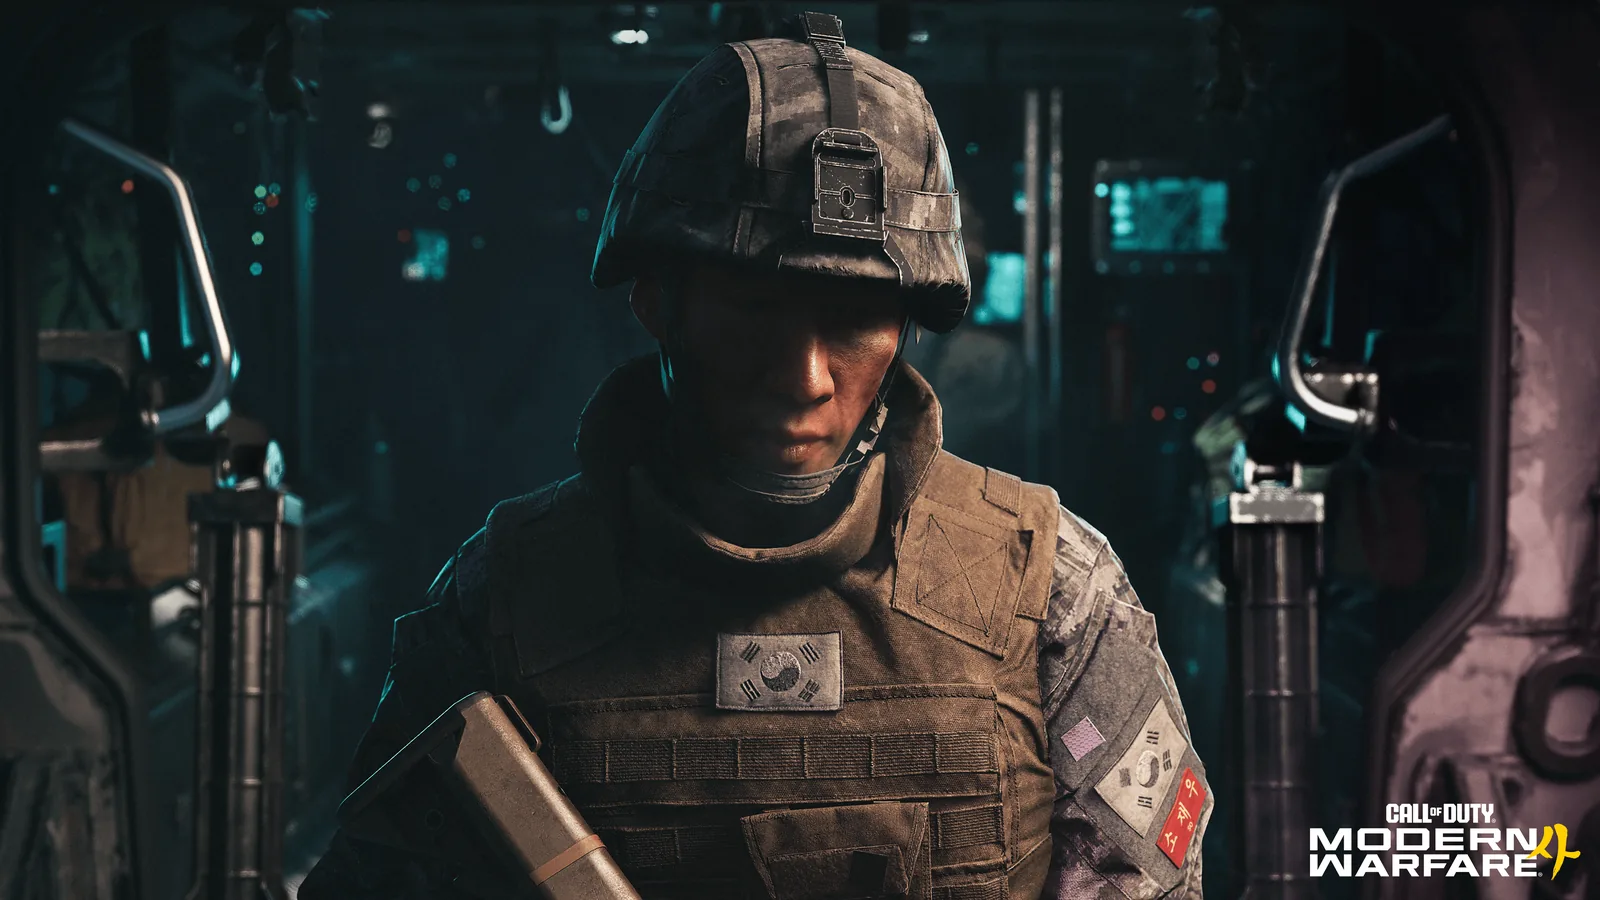
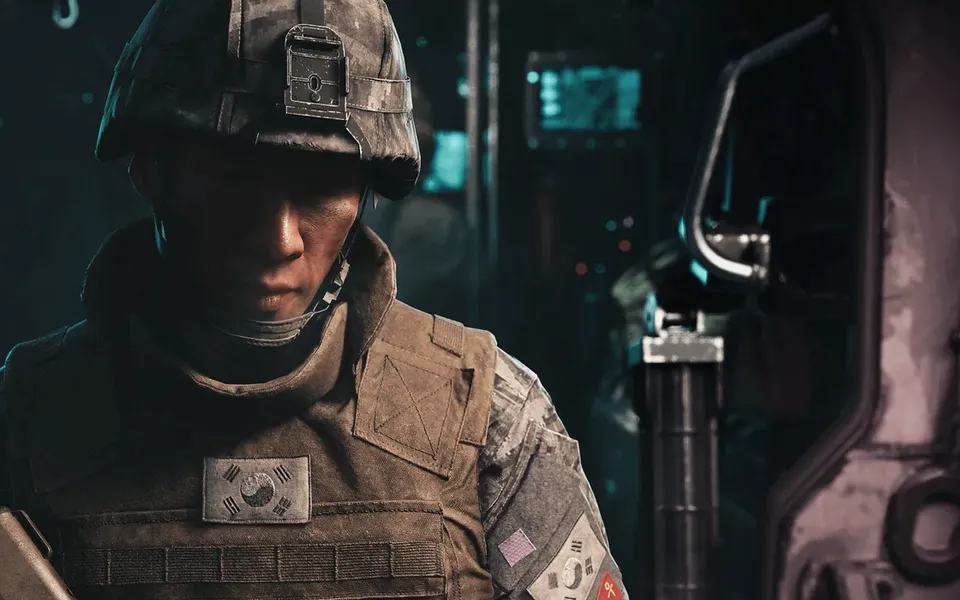
Quick card
- Source
- McBread's 8-minute video, with his chapter list; every pick below is his opinion unless we say otherwise
- The budget
- 18 trait points per operator, one per Dog Tag level-up; Majors sit at points 3, 6 and 9 of each tree
- His top pick
- Possum, at the top of Warfighter (9 points): one comeback per match, in Last Stand
- Biggest cost trap
- An MIA operator's recovery price rises with every trait point; he has seen 75,000 to 85,000 DMZ Cash quoted
- Status
- Launch build, his testing and reading, not re-tested by us; single-source traits are marked Unconfirmed
Watch McBread's video first
McBread made this walkthrough, and his video is the primary source: he shows the trait screens, compares two operators side by side and explains each choice as he makes it. Please watch it, and subscribe to his channel if it helps you. Use this page as the companion: it puts the rules, every trait he names and his recommendations in one place, so you can check a detail without scrubbing through the video. His chapters are 0:00 Intro, 0:10 Majors fixed, 0:46 Possum, 1:45 MIA cost, 2:46 Spend in threes, 3:42 The pairs, 4:59 Top of Scout, 5:42 Squads, 6:46 Minors and 7:03 Prestige, and the links in each section below jump to them. For the solo side of DMZ he points to his other video, 10 Things to Do Before Your First Run.
Watch McBread's full video → McBread's channel on YouTube → McBread's 10 things to do before your first run →
How the DMZ trait system works
Every DMZ operator has its own trait tree, and the tree has three branches: Warfighter, Scout and Survivalist. The trait screen also shows a fourth column, Prestige, which stays at zero until an operator prestiges. Points belong to the operator, not the account, and a trait you buy stays on the operator you bought it for. The budget is 18 points per operator. McBread says you get one every time your Dog Tag levels up after an exfil, and that a good raid can give you more than one. That fits what we already had from Activision's progression material: Dog Tag levels run from Steel to Onyx III, eighteen of them, with one Operator Trait each. If you are not sure where to spend yet, you can leave your points alone. They save up on the side, and once you spend one it is locked to that operator. Traits only help while the operator is alive. An operator who goes down without Possum goes MIA, and getting them back costs DMZ Cash that rises with every trait point (see the MIA section below).
Spend in threes: Majors, Minors and the 18-point budget
The tree is built from rows. A row of two is a Major, where you pick one of the two. A row of three is a Minor, and those are random. McBread's first point is that the Majors are identical for everybody and only the Minors are rolled. He shows it on screen by opening Ghost and then Hunter Killer: the rows of two carry names, the rows of three are question marks, and the Scout pair of Hostile Looter and Container Looter sits in the same spot on both. So you can plan your Majors from any guide, but when you reach a row of three, look at what you were actually offered, because the Minor a guide recommends is probably not in your list. Majors arrive at points 3, 6 and 9 of each tree. As we read his description, points 1, 2, 4, 5, 7 and 8 buy Minors only. That is why he says to spend in threes: split your 18 points 9 and 9, or 9, 6 and 3, or 6, 6 and 6, and you still end with six Majors. Do not sprinkle single points around, because two points in a tree only get you Minors, and it takes three to reach a Major. Order of play, in his words: if the main thing is not losing a good operator, go Warfighter first for Possum, and add Scout later when you have the points. Going Scout first is different: you get Hostile Looter on your third point, so loot starts coming in sooner, and you end up on the same eighteen either way. His description also says the video shows how to check your random Minors before you commit; we have not tried that step, so watch that part of his video.
Watch the Majors chapter (0:10) → Watch Spend in threes (2:46) →
Every trait at a glance
Here is every trait McBread names, in one table. The Point column is where the trait sits in its tree. Points 3, 6 and 9 are Majors, so each of those rows is a choice between two traits. The pairs we can name from his video are Point 3 in each tree (Equipment Professional or Combat Resistance, Hostile Looter or Container Looter, Faster Revive or Consumable Duration), Point 6 in Warfighter (Quick Fix or Viper Sense), and Point 9 at the top of Scout (Thermal Padding or Overwatch) and Survivalist (Numb the Pain or Die Hard). Where he does not say, the table says Not stated rather than guess. Status uses the same words as our other guides. Confirmed means at least two sources agree, and Unconfirmed means a single creator source that we have not tested. The last four rows are not in his video: they come from Activision's progression trailer and one community tracker, and we say which.
| Trait | Tree | Point | What it does | Status |
|---|---|---|---|---|
| Equipment Professional | Warfighter | Point 3 | Slowly refills your Lethals and Tacticals, so you print fewer grenades and smokes. He prefers it to Combat Resistance. | Unconfirmed |
| Combat Resistance | Warfighter | Point 3 | A little protection from explosives and enemy Tacticals, and that is about it, he says. | Unconfirmed |
| Quick Fix | Warfighter | Point 6 | Triggers on any kill, AI or player, and brings your health back sooner. It sits on the way up to Possum, and suits a fighting build. | Unconfirmed |
| Viper Sense | Warfighter | Point 6 | Thermal optics and AI targeting systems can't see you. An earlier community report described an alert when enemy operators are close instead. We have tested neither. | Unconfirmed |
| Possum | Warfighter | Point 9 | Once a match you come back after being killed, on full health but in Last Stand. You still need a Tourniquet or self-revive to stand up. It resets every match. | Confirmed |
| Adaptive Restock | Warfighter | Not stated | One more item off the AI. He places it next to Possum. | Unconfirmed |
| Hostile Looter | Scout | Point 3 | AI you kill sometimes drop Uncommon Printer ingredients, and once in a while a Rare one. You get it on your third point if you go Scout first. | Unconfirmed |
| Container Looter | Scout | Point 3 | Extra loot out of containers. The other half of the Point 3 pair, and it does not give the Printer ingredients Hostile Looter does, he says. | Unconfirmed |
| Field Crafting | Scout | Not stated | Lets you craft from your Common resources during the raid. | Unconfirmed |
| UAV Upgrade | Scout | Not stated | Upgrades your UAVs. He says pretty much everyone takes it on the way up Scout, which means a lot of Advanced UAVs over Hajin. | Unconfirmed |
| Thermal Padding | Scout | Point 9 | Hides you from UAVs, and knocks an Advanced UAV down to a normal one where you are concerned. | Unconfirmed |
| Overwatch | Scout | Point 9 | Any UAV tower you turn on never runs out. Players say an active tower tells everyone someone is around. | Unconfirmed |
| Combat Scavenger | Not stated | Minor | If it is rolled, the AI get another chance to drop something when they die, on top of Hostile Looter. | Unconfirmed |
| Air Superiority | Not stated | Minor | Does nothing for your UAV towers if you already have Overwatch; you only get the SAM sites. | Unconfirmed |
| Adrenaline Burst, Investor | Not stated | Minor | Listed in the game's blog as random Minors, so you might never be offered them. | Unconfirmed |
| Faster Revive | Survivalist | Point 3 | Your revives take less time, so your squad gets back up quicker. He takes it over Consumable Duration. | Unconfirmed |
| Consumable Duration | Survivalist | Point 3 | Consumables last longer, going by the name. He only prefers it if you hoard Smelling Salts and Stims. | Unconfirmed |
| Free Revive | Survivalist | Not stated | Repairs your first Wound on its own, which saves a Medkit. A Medkit needs a Rare Binding Catalyst to print. | Unconfirmed |
| Impact Smokes | Survivalist | Not stated | Pops smoke when you go down, a little bit of cover. | Unconfirmed |
| Numb the Pain | Survivalist | Point 9 | Gives your revives the Painkiller and Smelling Salts effects. | Unconfirmed |
| Die Hard | Survivalist | Point 9 | In Last Stand it calls the exfil for you and stops you bleeding out. He says it is not worth nine points on its own. | Confirmed |
| Killing Spree | Warfighter | Not stated | Kills extend your active effects, up to twice the duration. Not in McBread's video; from Activision's trailer. | Activision trailer only |
| Metabolism | Survivalist | Not stated | Slowly regenerates health lost to a tourniquet. Not in McBread's video; from Activision's trailer. | Activision trailer only |
| LT Hunter | Warfighter | Not stated | More intel from Lieutenant Towers. Not in McBread's video; from a community tracker. | Community report only |
Warfighter: Possum, Quick Fix and the survival picks
Warfighter is the survival tree, and it ends in Possum. In McBread's words, Possum lets you come back once a match after you have been killed, and then you are in Last Stand, not standing up. It sits at the top of the tree, so it takes all nine Warfighter points. It resets every match, so it is there again next raid. You come back on full health but still down, so you need a Tourniquet or a self-revive to get up. His advice on using it: if whoever killed you is still watching the body, you go straight back down when you stand, so give them time to walk off first. The flip side is that a solo player you have just killed might still have Possum, so take their plates and their self-revive before you leave the body, or put a claymore next to them on the way out. IceManIsaac makes a similar point in his tips video, which we cover in our 30 tips guide. The pairs on the way up. At Point 3 it is Equipment Professional or Combat Resistance. Equipment Professional slowly refills your Lethals and Tacticals, so you print grenades and smokes less often; Combat Resistance is a little protection from explosives and enemy Tacticals. At Point 6 it is Viper Sense or Quick Fix, and he frames the choice as whether you want to stay out of the fight or take it. Viper Sense hides you from thermal optics and AI targeting systems. Quick Fix triggers on any kill, so if you are killing a lot of AI your health comes back sooner for most of the raid. Quick Fix is on the way up to Possum anyway, so a fighting build ends up with both. Earlier community reports described Viper Sense as an alert when enemy operators are near, which is not what he says, and we have not tested it. Wing Mait note: operator contact callouts are in development. The idea is that a solid red diamond on the minimap (an enemy operator) gets a spoken callout and an outline diamond (an NPC) does not, which matters most after you clear a body that might be hiding a Possum. Wing Mait for MW4 DMZ is in development, so this is a plan and not a shipped feature.
Watch Possum (0:46) → Watch the Warfighter pairs (3:42) → MW4 DMZ tips: 30+ things the game never says → Thermal optic reticles: all ten tested → Solo compound to train loot route →
Scout: loot, Printer ingredients and the stealth finish
Scout is the loot and information tree. Go Scout first and you get Hostile Looter on your third point. McBread explains why he rates it: kill AI with Hostile Looter and they sometimes drop Uncommon Printer ingredients, and once in a while a Rare one. On the 3D Printer screen he shows that the Medium Backpack wants Rigid Synthetics and the Medkit wants Biomaterials, both Uncommon, plus a Rare Binding Catalyst for the Medkit. The alternatives are Container Looter for extra loot out of containers, Field Crafting to craft from Common resources during the raid, or Adaptive Restock next to Possum for one more item off the AI, and none of them get you ingredients like that, he says. Near the top of Scout, pretty much everyone has taken UAV Upgrade on the way, and the choice is Thermal Padding or Overwatch. That is a lot of Advanced UAVs going up over Hajin. Thermal Padding hides you from UAVs and knocks an Advanced UAV down to a normal one where you are concerned. Overwatch is an information pick: any UAV tower you turn on never runs out. He adds a warning that people are saying an active tower tells everyone a player is around, and that some players wait outside the circle for whoever turned it on. That is hearsay he passes on, not something he tested. His stealth recipe is Thermal Padding plus Viper Sense. One covers UAVs and the other covers thermals and the AI, so you get much harder to find. It costs nine points in Scout and six in Warfighter, which leaves three to spend however you like. Two Minors to watch for: Combat Scavenger gives the AI another chance to drop something on top of Hostile Looter, and Air Superiority does nothing for your towers if you already have Overwatch, because you only get the SAM sites.
Watch the Scout loot picks (4:28) → Watch the top of Scout (4:59) → 3D printer recipes: all 14 → Hajin map: 13 POIs → secret loot rooms, 5 hidden on Hajin →
Survivalist: revives, Free Revive and Last Stand
Survivalist is the squad tree. McBread's first rule is to take Faster Revive over Consumable Duration, unless you actually hoard Smelling Salts and Stims. Even three points in Survivalist buys Faster Revive, and your squad gets back up quicker. Free Revive repairs your first Wound on its own, which saves a Medkit, and a Medkit needs a Rare Binding Catalyst to print. Impact Smokes is a little bit of cover instead: it pops smoke when you go down. At the top it is Numb the Pain or Die Hard. Numb the Pain gives your revives the Painkiller and Smelling Salts effects. Die Hard calls the exfil for you while you are in Last Stand and stops you bleeding out, which matches Activision's trailer text for it. Is Die Hard worth nine points on its own? Not really, he says, because whoever downed you will usually finish you anyway. Metabolism, which slowly regenerates health lost to a tourniquet, is also in Survivalist from Activision's trailer, but it is not in his video, so we cannot say where it sits.
Watch the squad picks (5:42) → First look: HUD, loot and threat →
What losing an operator costs: MIA and the backup operator
If your operator goes down without Possum they go MIA (missing in action), and getting them back costs DMZ Cash. The price goes up with every trait point, so losing a fully built operator hurts. McBread says he has seen people quote around 75,000 to 85,000 DMZ Cash for one with a lot of points, that yours may be different, and that you should check the price at the Operators station. You don't get the gear back with them, only the traits. His options: pay it; dismiss the operator and start a fresh one; or switch to your other slot and earn the money back. His favourite trick is to keep one operator with hardly any points for the raids you are not sure about, so if you die you pay for a cheap operator and not a good one. On slots, the Operators station shows two to start with, three with the Vault Edition, and another one later from your DMZ level. He also says a later Printer upgrade gives MIA recovery discounts, so you are not paying the full price every time.
Watch the MIA cost chapter (1:45) → 3D printer recipes: all 14 →
Best picks by playstyle
McBread frames his advice around three ways to play: going in solo, going in for the loot and running with a squad. We add a stealth row and a fighting row, which are our reading of his remarks on Thermal Padding with Viper Sense and on Quick Fix in a fighting build. Everything in the table is his opinion on the launch build, not something we have tested.
| Playstyle | Spend order | Key picks | Why |
|---|---|---|---|
| Solo, staying alive | Warfighter first (9 points), Scout later | Possum, Equipment Professional, then Thermal Padding with Viper Sense | Possum is the second chance when nobody can revive you, and the stealth pair makes you hard to find. He has a separate solo video. |
| Looter | Scout first, Hostile Looter on point 3, Warfighter after | Hostile Looter, and Combat Scavenger if it is rolled | Hostile Looter is the one he singles out for Printer ingredients. Container Looter and Field Crafting do not give them. |
| Squad | Split the trees across three players | One on Survivalist (Faster Revive, 3 or more points), one on Scout (UAVs, 9 points), one on Warfighter (Possum, 9 points) | Faster Revive pays off even at 3 points, and Free Revive saves a Medkit. He would skip Die Hard unless you have the points to spare. |
| Stealth | 9 in Scout, 6 in Warfighter, 3 spare | Thermal Padding plus Viper Sense | One hides you from UAVs, the other from thermals and the AI. Be careful with active UAV towers, which players say give you away. |
| Fighting (PvP and AI) | Warfighter to 9 | Quick Fix, Possum, Equipment Professional | Quick Fix heals on every kill, AI or player, and is on the way to Possum; Equipment Professional keeps grenades and smokes coming. |
McBread's 10 things to do before your first run → Solo lieutenant hunts and loot → 10 checks before your next drop → Regain: free kit to extraction → Chang-san loot route, 3 buildings →
Prestige: reset an 18-point operator for a random trait
Once an operator has earned all 18 points and is not MIA, you can Prestige. The first Prestige costs 200,000 DMZ Cash, plus two Rare weapons with three attachment slots, a Rare Backpack, a Rare Plate Carrier and four Rare Printer ingredients. You don't keep your traits, they get wiped, and everything else in that loadout or backpack goes too. In return you get one random Prestige trait each time, and you don't get to pick it. The Prestige trait stays with the operator even if you dismiss them later. An operator can hold three. From the fourth Prestige on, you either swap one out or skip the new one. The second Prestige costs 300,000 DMZ Cash and Epic gear, and every one after that costs 500,000 and Legendary gear. He says he doesn't know yet whether your Minors get re-rolled when you Prestige, and asks anyone who has seen it work differently to tell him. IceManIsaac, in the video behind our 30 tips guide, adds that Prestige traits stack and names Quick Fix, Possum and UAV Upgrade among the strong rolls. That is his claim, not ours.
Watch Prestige (7:03) → MW4 DMZ tips: 30+ things the game never says →
What we haven't confirmed
We haven't re-tested any of this in game. This page follows McBread's captions and chapter list on the launch build, cross-checked against Activision's progression trailer text where the two overlap. The Majors being identical for every player is his observation from comparing two operators. It fits the named traits we have seen elsewhere, but we have not compared accounts. What Viper Sense does. He says thermal optics and AI targeting can't see you; an earlier community tracker described an alert when enemy operators are close. Neither is tested by us. Which point each trait sits on. He gives the Point 3 pairs, the Point 6 Warfighter pair and the top picks; the rest of the table says Not stated. The MIA price. The 75,000 to 85,000 DMZ Cash range is what he has seen others quote, and he says to check the Operators station. That Hostile Looter drops Printer ingredients, and the Printer upgrade that discounts MIA recovery, are his observations. That an active UAV tower tells other players someone is near is hearsay he passes on. Whether Minors re-roll on Prestige. He doesn't know either. Costs, slots and drop rates are launch numbers and may change in a patch.
Quick answers
The short version of the DMZ trait system, from McBread's video.
How many trait points does a DMZ operator get?
18 per operator. McBread says you earn one each time your Dog Tag levels up after an exfil, and a good raid can give you more than one level. Unspent points save up and are locked to an operator only when you spend them.
Are the Major traits the same for every player?
He says yes: the Majors are identical for everybody and only the Minors are rolled, so a guide's Majors will match yours but its Minors may not. That is his observation, so check your own tree.
What does the Possum trait do?
Once a match it brings you back after you have been killed, on full health but in Last Stand, so you still need a Tourniquet or self-revive to stand. It sits at the top of Warfighter and takes all nine points.
Which trait tree should I spend in first?
He says Warfighter first for Possum if the main aim is not losing a good operator, then Scout. Going Scout first gets you Hostile Looter on point 3 and the same 18 points in the end. Spend in threes either way.
What happens when a DMZ operator goes MIA?
If they go down without Possum they go MIA and you pay DMZ Cash to recover them, more for every trait point they carry. You get the traits back, not the gear. He suggests keeping a low-point backup operator for risky raids.
How we put this page together, and the Wing Mait note
Our method is simple. We read McBread's caption track and chapter list, write his points in our own words, attribute every opinion to him, and mark anything from a single source as Unconfirmed. Then we check it against what we already hold: Activision's progression trailer text for Possum, Die Hard, Killing Spree and Metabolism, and IceManIsaac's video for Possum and Prestige. We don't use stills or frames from his video on this page; the video is embedded so you can watch the real thing. Wing Mait note: a trait build is mostly decided by reading the screen at the right moment, such as your unspent points, an MIA price at the Operators station, or the Last Stand state after Possum. That is the kind of on-screen text Wing Mait is built to read, so it can speak up while your eyes stay in the fight. Wing Mait for MW4 DMZ is in development. It is a tactical voice system that watches the screen only: it doesn't read game memory, inject anything or send inputs to the game.
Source briefing and credits
Traits, numbers and quotes: McBread, "MW4 DMZ Best Traits: Which to Take First" (YouTube, published 23 October 2026 US Pacific time), 8 minutes 16 seconds, from his captions and chapter list. The wording is ours; costs and effects are as he states them. Please watch his full video and visit his channel. Cross-checks: the Activision DMZ progression trailer as covered in our FOB and progression guide, a community trait tracker (reported, not verified by us) and IceManIsaac's 30+ tips video. Thank you to McBread for putting this walkthrough together.
Watch McBread's full video → McBread's channel on YouTube → McBread's 10 things to do before your first run → FOB and progression → MW4 DMZ tips: 30+ things the game never says →
SOURCE BRIEFING
Source video from McBreadMW4 DMZ Best Traits: Which to Take First
Watch on YouTubePlaying loads YouTube. Choose captions in the player settings. Credit and thanks to the creator.
Related field notes
 MW4 DMZ25 Oct 2026Solo boss run: Iskra at Peak ArrayHow to kill the MW4 DMZ boss Iskra solo at Cheonwang Peak Array, from kojiro51's 10-minute run: intel, route, fourth-floor fight, key room and exfil.FIELD NOTE 21
 MW4 DMZ23 Oct 2026secret loot rooms, 5 hidden on HajinFive hidden MW4 DMZ loot rooms on Hajin from Incredilags' video and TheRealGhost's Short, pinned on our map: Gangbyeon Apartment B, Old Barber Shop, Hanex Guard Station, The Grid side doors and Comms Station Six at the Rice Mill.FIELD NOTE 22
 MW4 DMZ23 Oct 2026MW4 DMZ tips: 30+ things the game never saysIceManIsaac's 30+ MW4 DMZ tips in eight groups: Possum, stash mules, secure slots, insurance, healing, SAM sites and exfil timers, linked to our Hajin map.
Sources
Numbers and mechanics on this page are paraphrased from:
Wing Mait is an independent project, not affiliated with or endorsed by Activision. Wing Mait for MW4 DMZ is in development and has not been released.